Introduction: The Artistic Pitch of Baseball Caps
In the realm of casual fashion and sports enthusiasm, baseball caps have become more than just a practical accessory to shield one’s eyes from the sun; they embody a cultural symbol that transcends generations and borders. For artists, capturing the essence of this iconic headwear in a drawing presents a fascinating challenge that requires attention to detail, understanding of form, and a dash of personal style. This comprehensive guide aims to equip beginners with the skills necessary to masterfully draw baseball caps, transforming simple lines and curves into a vivid representation of this beloved accessory.

Grasping the Fundamentals: Understanding Form and Perspective
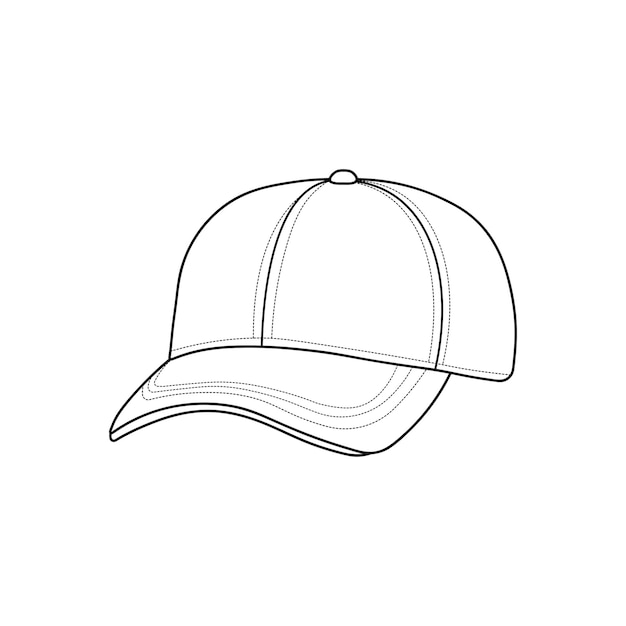
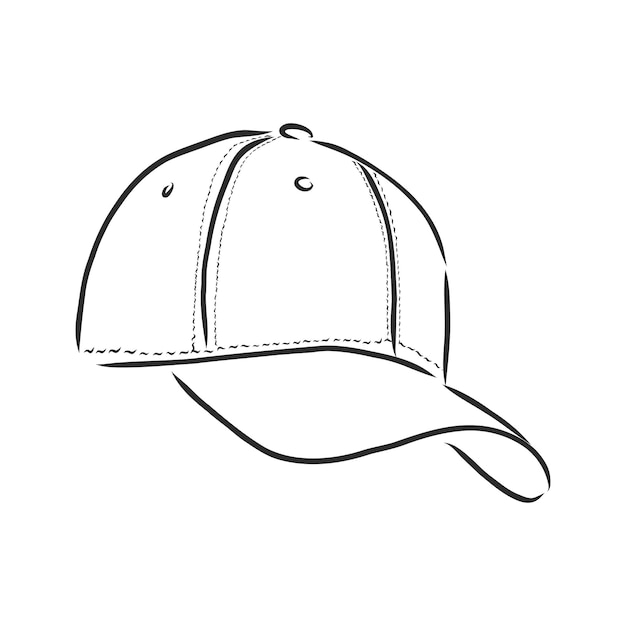
Before any line touches the paper, it’s crucial to grasp the basic structure of a baseball cap. Typically consisting of a curved bill, crown with panels, adjustable strap or fitted band at the back, and sometimes a button atop, the cap has distinct elements that must be accurately depicted. Begin by studying real caps or high-quality reference images, noting how light interacts with the different surfaces, creating highlights and shadows. Understanding perspective is key—observe how the cap’s shape changes when viewed from various angles, ensuring your drawing reflects a realistic sense of depth.
Sketching the Outline: Laying the Foundations
With a pencil in hand and a keen eye on your reference, lightly sketch the outline of the cap. Start with the overall silhouette, mapping out the curve of the bill, the rounded crown, and the rear portion. Don’t worry about perfection at this stage; aim for loose, gestural lines that capture the cap’s general form. Gradually refine these initial sketches, paying close attention to the proportions of each part. Remember, the bill should extend beyond the front of the crown, and the panels on the crown typically create a hexagonal or octagonal shape when viewed from above.

Shading Techniques: Bringing Depth to the Draw
Shading is where the cap truly comes to life. Begin by identifying the light source in your reference and determining which areas will be in highlight, mid-tone, and shadow. Use a soft pencil (like a 2B or 4B) to apply the initial layers of shading, focusing on the underside of the bill and areas where the fabric folds or overlaps. To achieve a three-dimensional look, employ cross-hatching or stippling techniques to build up darker tones gradually. Pay particular attention to the texture of the fabric; baseball caps often have a subtle weave pattern that can be hinted at through careful shading.
Detailing: The Finer Points of Perfection
Details make all the difference. Once the basic shading is in place, focus on adding the smaller elements that give a cap its character. This includes the embroidered logos, ventilation holes, and stitching details around the edges. For embroidery, mimic the stitch patterns with fine lines, remembering that thread has a slight thickness and can cast shadows. Don’t forget the button on top and the subtle creases that naturally occur from wear. These elements, though small, contribute significantly to the authenticity of your drawing.

Capturing Realism with Color
If you’re working in color, understanding how to mix and apply hues accurately is vital. For a traditional baseball cap, start with a base of off-white or beige for the crown, using warmer yellows or cooler grays to suggest shadows and highlights. The bill typically has a darker tone, often in shades of navy, black, or green, reflecting its purpose to block sunlight. Apply colors in layers, building up depth and vibrancy. Remember to blend colors seamlessly, especially where they meet, to maintain a realistic appearance.
Advanced Techniques: Playing with Light and Reflections
To elevate your drawings further, consider the complexities of light and reflection. Caps made of materials like polyester can have shiny surfaces that reflect their surroundings. Observe how light bounces off these areas, creating specular highlights. Use a white gel pen or a light touch with a colored pencil to replicate these effects. Additionally, consider environmental reflections on the bill—on a sunny day, the sky might be mirrored faintly, adding another layer of realism to your artwork.

Finishing Touches and Presentation
Once your drawing is complete, take a step back and assess it critically. Are there areas that need more definition? Could the shadows be deeper? Make any final adjustments before erasing unwanted sketch lines and sharpening details. Consider framing your work or presenting it in a clean, professional manner if you intend to showcase it. Remember, practice makes perfect, and with each new drawing, you’ll refine your technique and develop a unique artistic voice.

Embracing Textures for Added Depth
Incorporating texture into your drawing can greatly enhance its realism. Different parts of a cap have distinct textures – the smoothness of the fabric, the coarseness of the stitching, or the slightly rough texture of an embroidered logo. To convey these variations, experiment with various techniques:
- Fabric Texture: For the cap’s fabric, create a subtle texture by using light, feathery strokes with your pencil or by crosshatching very finely. This mimics the minute fibers in the material without overwhelming the drawing.
- Stitching and Embroidery: To depict stitches, use short, straight lines following the contour of the seam. Vary the pressure on your pencil to give the illusion of raised threads. For embroidery, add a slight variation in the line thickness and spacing to simulate the thread’s slightly irregular nature. You can also lightly shade around the embroidery to suggest the shadow it casts on the fabric beneath.
- Bill Reflections and Texture: The underside of the bill often has a different texture than the top, sometimes with a matte finish or a slight sheen. Reflect this in your drawing by adjusting the shading and highlights accordingly. If the bill is made of a glossy material, show this with sharper, more defined reflections.
Conclusion: The Grand Slam of Baseball Cap Art
Mastering the art of drawing baseball caps is a journey that combines technical skill with creative expression. Through understanding form, practicing shading techniques, and paying meticulous attention to detail, you can transform a humble sketch into a celebration of this iconic piece of attire. As you progress, don’t be afraid to experiment with different styles and mediums, allowing your passion for both art and baseball culture to shine through every stroke. With dedication and patience, your drawings will undoubtedly hit a home run in the world of artistic representation.