Introduction: The Quest for a Clean Cap
Baseball caps are more than just accessories; they’re wearable badges of honor, telling stories of sunny afternoons at the ballpark, lazy Sunday barbecues, and the occasional bad hair day rescue mission. Over time, these beloved headpieces accumulate sweat, dust, and memories, demanding a wash to restore their freshness and charm. However, cleaning a baseball cap without damaging its shape or fading its colors can be a daunting task. Fear not, for this ultimate guide presents the best way to wash a baseball cap at home, ensuring your favorite cap remains in tip-top condition.
Understanding Your Cap: Materials & Considerations
Before diving into the washing process, it’s crucial to understand the material of your cap. Most baseball caps are made from cotton, polyester, or a blend of both, with some featuring delicate embroidery or plastic adjusters. Knowing your cap’s fabric helps determine the appropriate washing method. Delicate materials or those with intricate designs require gentler care compared to sturdier, all-cotton caps. Additionally, always check for any care labels inside the cap for specific manufacturer instructions.
Gathering Supplies: Tools of the Trade
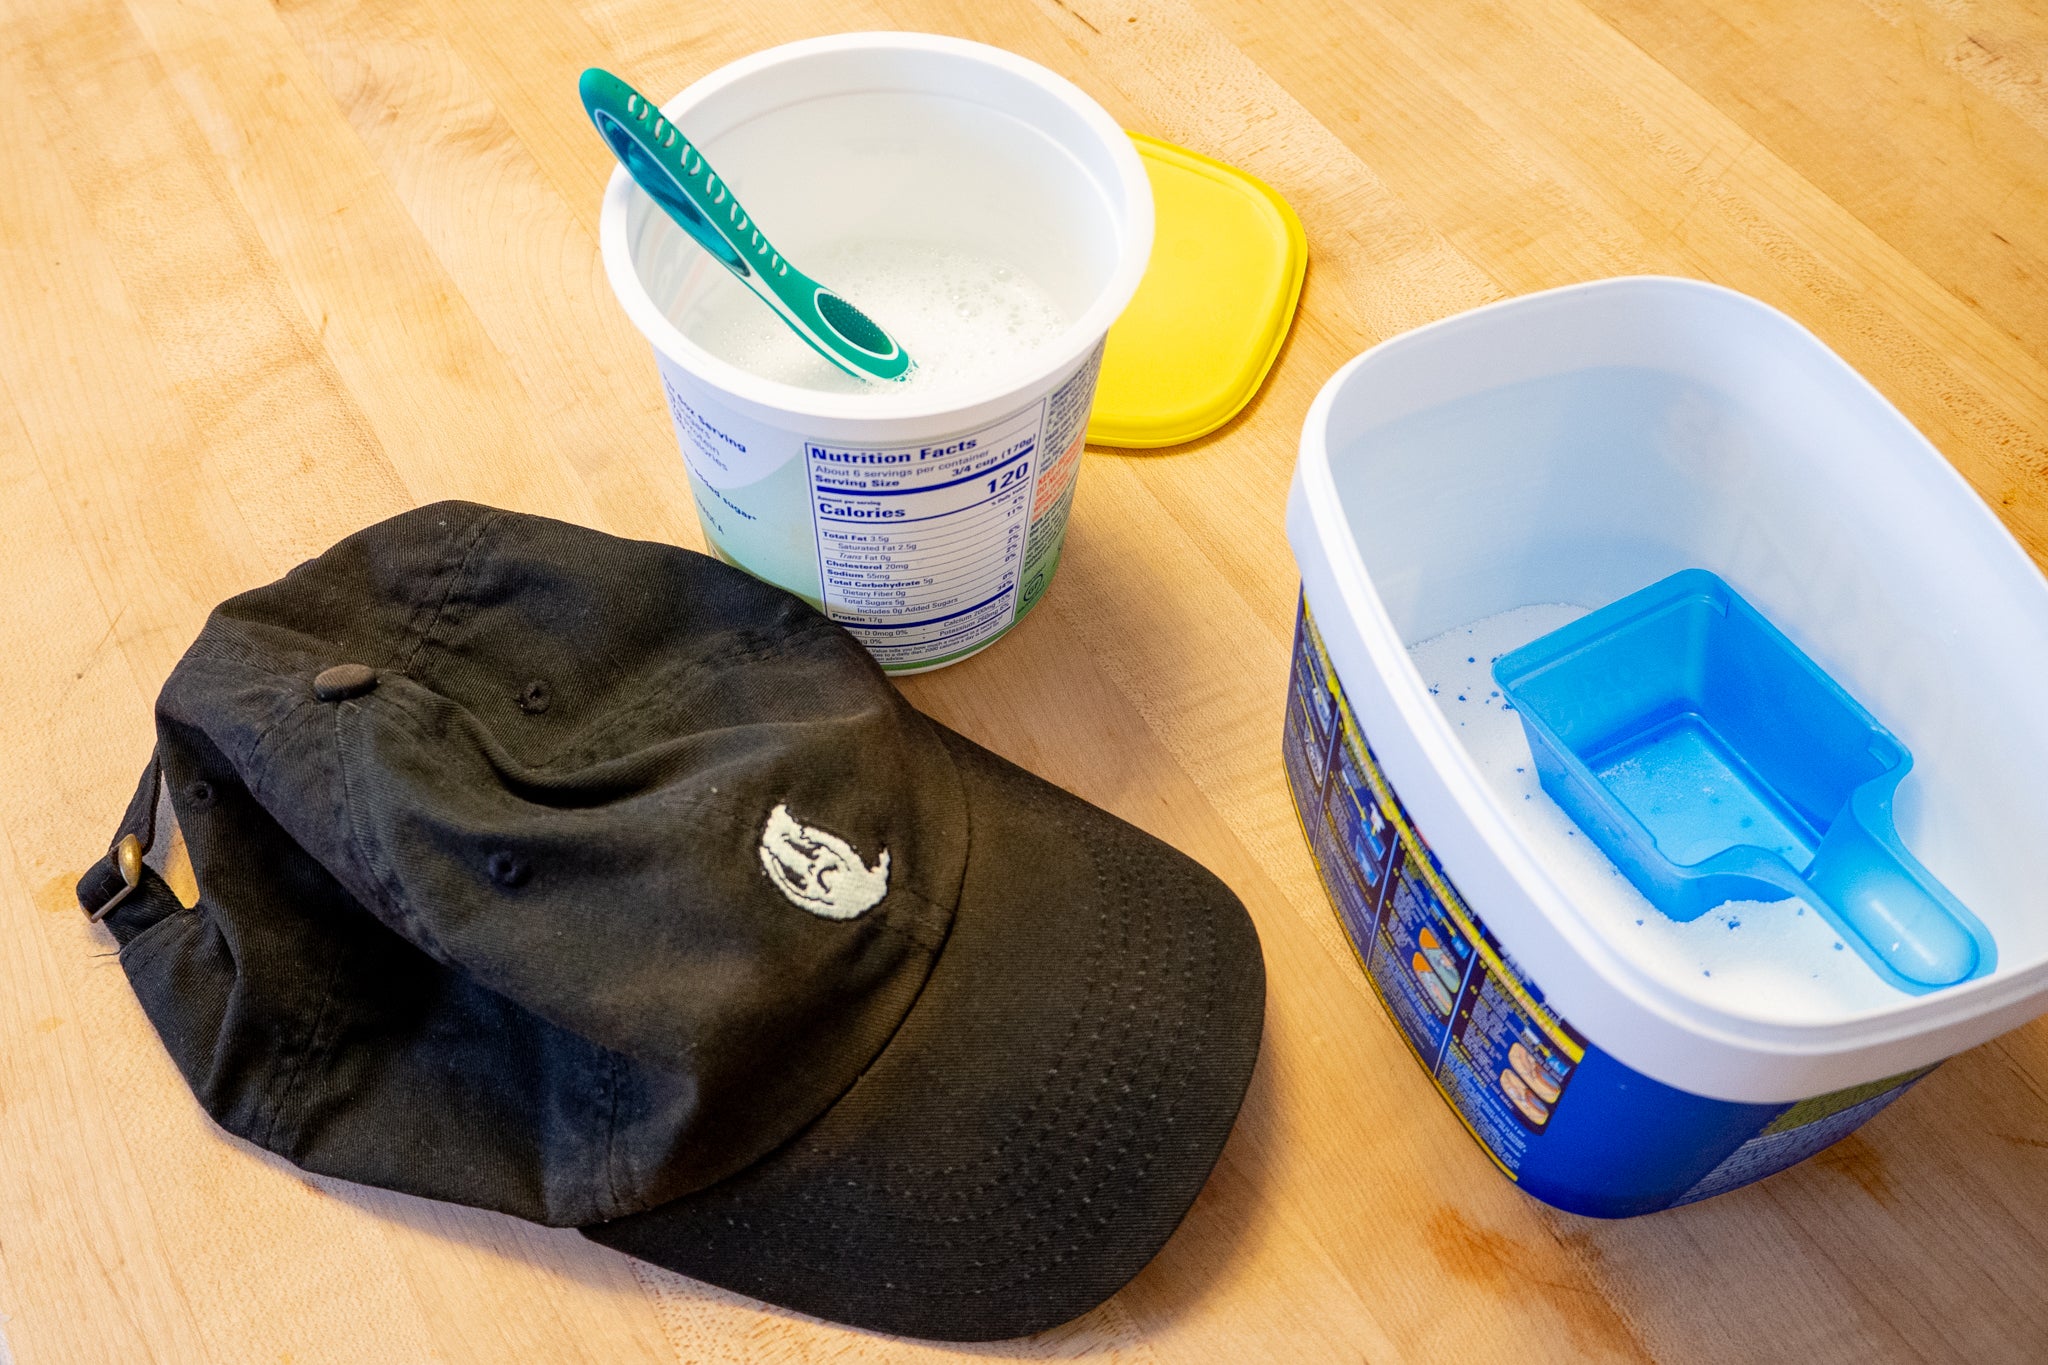
To embark on this cleaning journey, you’ll need a few items:
- Mild detergent: A gentle soap, like Woolite or a mild dish soap, to protect the cap’s color and fabric.
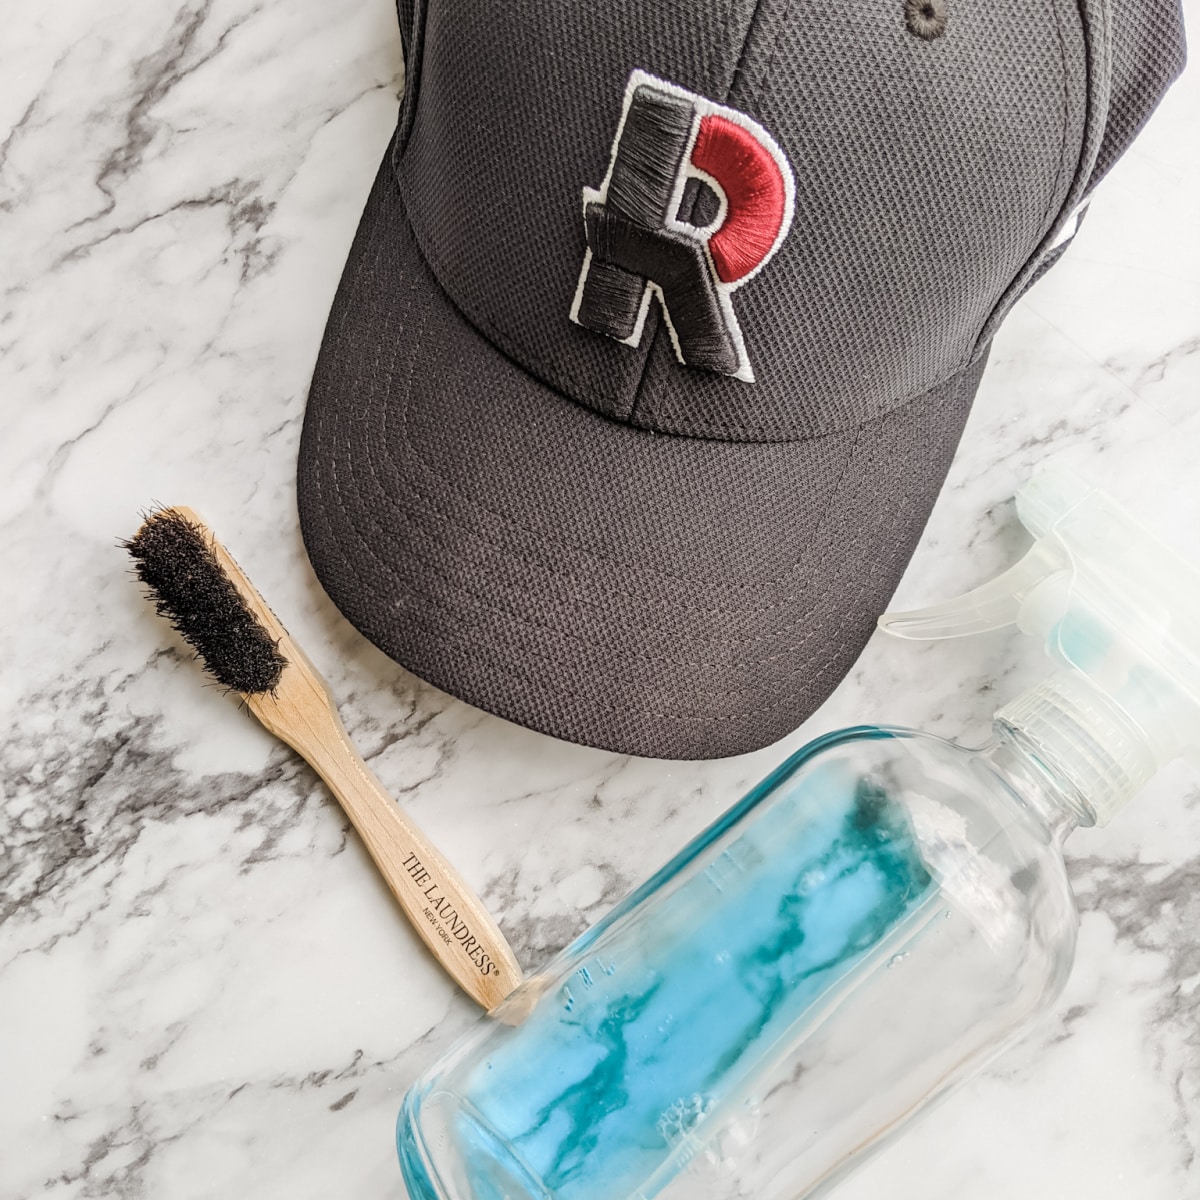
- Soft-bristled brush: A toothbrush or a specialized cap cleaner brush for gentle scrubbing.
- Bucket or sink: For soaking and rinsing, ensuring enough space to maneuver the cap without damage.
- Towels: Soft, clean towels for drying and shaping.
- Bleach alternative (optional): For white caps or stubborn stains, use a non-chlorine bleach solution cautiously.
Pre-Wash Preparation: Assessing & Spot Cleaning
Begin by assessing your cap for any loose dirt or heavy stains. Gently brush off surface dust with a soft brush or cloth. For spots or stains, apply a small amount of pre-mixed detergent directly onto the affected area and gently rub with a dampened soft-bristled brush. Allow the solution to sit for a few minutes before proceeding to the full wash, which helps loosen up the stains for easier removal.
The Soak & Gentle Wash Technique
Fill a bucket or sink with lukewarm water and add a capful of mild detergent, ensuring the mixture is well-dissolved. Submerge your cap, ensuring it’s fully soaked. Avoid aggressive rubbing, as this can distort the shape or damage any embroidery. Instead, gently agitate the water with your hands, allowing the detergent to work its magic. For particularly dirty areas, use your soft-bristled brush to lightly scrub, paying close attention not to scrub too harshly on any embroidered sections.
Rinsing Away Residue: The Key to Freshness
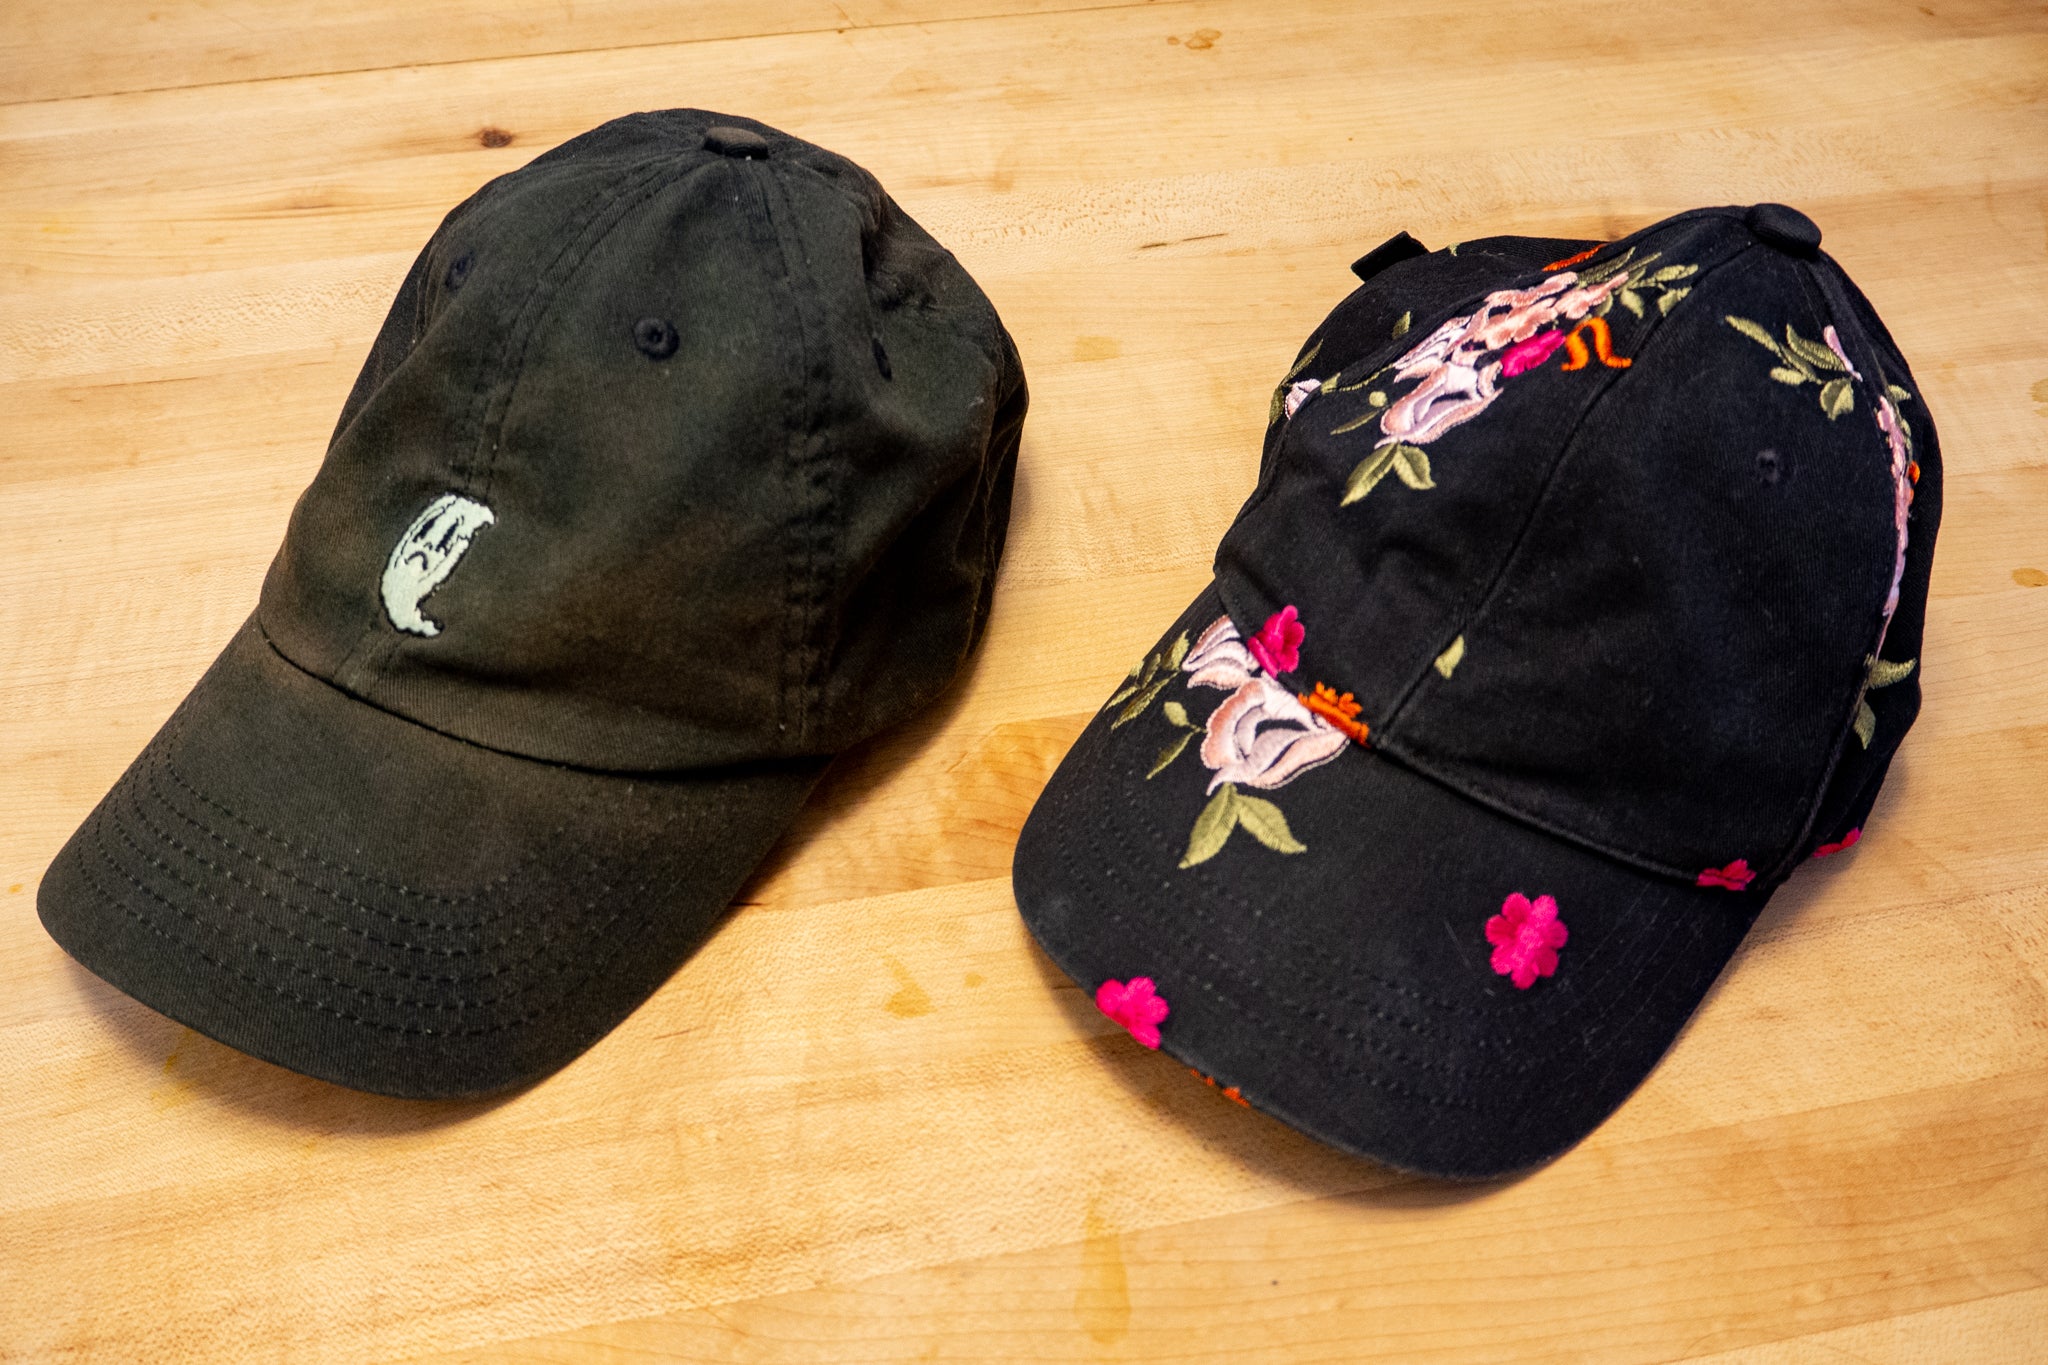
Once the soapy soak is complete, carefully drain the soapy water and refill the sink or bucket with clean, cool water. Dunk your cap several times, gently squeezing out excess soap and lifting it to inspect for any remaining suds. Repeat the rinse until the water runs clear, ensuring all detergent is removed to prevent residue buildup that could irritate the skin.
Drying & Shaping: The Art of Restoration
Post-rinse, it’s crucial not to wring out your cap, as this can misshape it. Instead, lay it flat on a clean towel, folding the brim in half gently to maintain its curve. You may also stuff the cap with a dry towel to help it retain its original shape during the drying process. It’s important to let your cap air-dry naturally, away from direct sunlight or heat sources, as excessive heat can shrink or fade the fabric. Depending on the humidity and temperature, allow at least 24 hours for complete drying.
Advanced Techniques: Dealing with Special Cases
For caps with leather bills or trim, avoid soaking them entirely. Instead, spot-clean using a damp cloth with a mild soap solution, being extra cautious around the leather parts. Dry with a soft cloth and never expose leather to direct heat. If your cap features delicate embroidery or is made from a more fragile material, hand-washing with an even gentler touch and shorter soaking time is recommended.
Maintaining the Freshness: Preventative Measures
To extend the time between washes, consider rotating your caps regularly and using a hat liner or headband to absorb sweat. When not in use, store your caps in a cool, dry place, avoiding cramped spaces that could deform their shape. Periodically airing out your caps by hanging them outside on a non-sunny day can also help reduce odor buildup.
Innovative Cleaning Solutions for Tricky Stains
When faced upon stubborn stains such as oil or ink, traditional cleaning methods might not suffice. For oil-based stains, apply a small amount of cornstarch or talcum powder to the affected area before washing. Let it sit for a few hours or overnight; the powder will absorb the excess oil, making the stain easier to remove. For ink stains, try using rubbing alcohol applied gently with a cotton swab. Always spot-test a hidden area first to ensure the cleaning agent won’t damage the fabric.
Reviving Faded Colors
Over time, exposure to sunlight can cause colors to fade. To bring some life back into a faded cap, consider using a color-restoring product specifically designed for fabrics. Follow the instructions carefully, ensuring compatibility with your cap’s material. Alternatively, a gentle soak in a mixture of cold water and white vinegar can sometimes help brighten colors. Rinse thoroughly afterward to remove any vinegar scent.
Shaping Techniques for Perfect Form
Once your cap is completely dry, you may notice it needs a little help regaining its form. Using a steam iron on the lowest setting (with a protective cloth between the iron and the cap) can help reshape areas that have lost their structure. Be cautious not to get too close to delicate materials or trims. Alternatively, you can use a handheld steamer for a more controlled approach. Gently manipulate the cap back into shape while applying steam, allowing it to cool and set in place.
Conclusion: A Clean Cap, A Happy Head
Mastering the art of washing a baseball cap at home not only preserves the life and appearance of your cherished headwear but also ensures it remains a comfortable and stylish accessory. By following the steps outlined in this guide, you can confidently restore your caps to their former glory, ready to accompany you on countless new adventures under the sun. Remember, a well-cared-for cap tells a tale of pride and respect for both the cap and the memories it holds.
