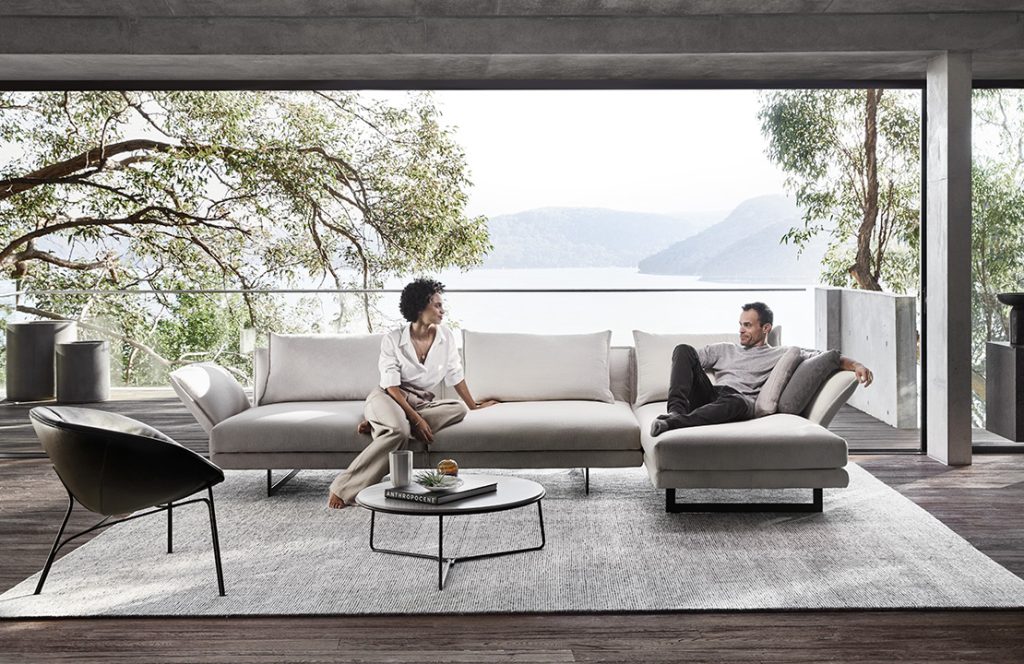
Adding coordinating or contrasting slipcovers is an easy way to update your sofa’s appearance. With some simple sewing skills and creativity, you can custom-fit slipcovers to provide temporary protection or give your sofa an entirely new look.
Benefits of DIY Sofa Slipcovers
Making your own slipcovers offers advantages over ready-made versions:
- Get a tailored fit for your exact sofa dimensions.
- Choose fun, unique fabrics like bold patterns or velvets.
- Mix and match fabrics, trims and ties for one-of-a-kind style.
- Save money over purchasing retail covers.
- Remove for quick laundering or to change up styles.
- Protect upholstery from pets, kids and daily wear-and-tear.
Tips for Measuring Sofa Dimensions
The key to a perfect fit is taking thorough measurements of your sofa’s length, width, height and seat depth.
- Use a flexible tape measure.
- Note dimensions of arms, back, and cushions.
- Measure seam to seam rather than along the outer edges.
- Add at least 1–2 inches ease to all measurements for a comfortable fit.
- Having a friend help take measurements makes it much easier.

Selecting an Appropriate Fabric
Almost any tightly-woven, medium weight fabric can work for slipcovers, like:
- Cotton
- Cotton-polyester blends
- Canvas
- Twill
- Chenille
- Velvet
Avoid fabrics that are too thin, stretchy or slippery. Test fabric swatches by spritzing water to see if they repel liquid.
Step-by-Step Instructions for Constructing the Cover
- Cut fabric pieces using your measurements and a sofa slipcover pattern.
- Sew the pieces together at the seams and hems.
- Add accents like contrasting piping or banding for extra flair.
- Attach ties, Velcro or zippers to securely fasten the cover.
- Flip the cover right-side out and place it over sofa cushions.
- Smooth and adjust until the fit is perfect.
With the right fabric, measurements, and adjustments, you can achieve a designer-worthy custom slipcover that protects your sofa and showcases your unique style.
