Embroidering your own baseball cap is a creative and fulfilling project that allows you to express your personal style. This guide will walk you through every step of the process, from selecting the right materials to showcasing your final product. Whether you’re enhancing an existing cap or starting from scratch, mastering this skill can add a unique touch to your wardrobe.
Choosing the Right Baseball Cap
Understanding Cap Styles
Before diving into the embroidery process, it’s essential to choose the right baseball cap. There are several styles available, including adjustable, snapback, fitted, and trucker caps. Each style offers different aesthetics, closures, and fits, so selecting one based on your personal preference and desired use is crucial. A fitted cap offers a sleek look, while a snapback provides versatility in size adjustment.
Material Matters
Most baseball caps are made from cotton, polyester, or a blend. Cotton caps are soft and breathable, making them comfortable for everyday wear. Polyester caps, on the other hand, are more durable and water-resistant, perfect for outdoor activities. When selecting your cap, consider not just the style but also the fabric. The texture of the material will affect how well it holds the embroidery stitches and the overall aesthetic of your design.

Gathering Your Embroidery Supplies
Essential Tools for Embroidery
Once you’ve chosen your baseball cap, it’s time to gather your supplies. Basic embroidery tools include a needle, embroidery thread, and scissors. If you’re new to embroidery, consider purchasing an embroidery kit that offers all the fundamental supplies. You’ll also need a hoop for maintaining tight tension on the fabric and an iron for setting your stitches once you’re done.
Selecting Your Embroidery Thread
The thread you choose can significantly impact the final look of your embroidered design. Embroidery thread comes in various materials, including cotton, rayon, and polyester, each with its unique shine and texture. Cotton is easy to work with and perfect for beginners, while rayon offers a luxurious sheen but can be a little more challenging to handle. Choose a color palette that complements your cap, and consider using a mix of colors to create a vibrant design that stands out.
Designing Your Embroidery Pattern
Inspiration and Ideas
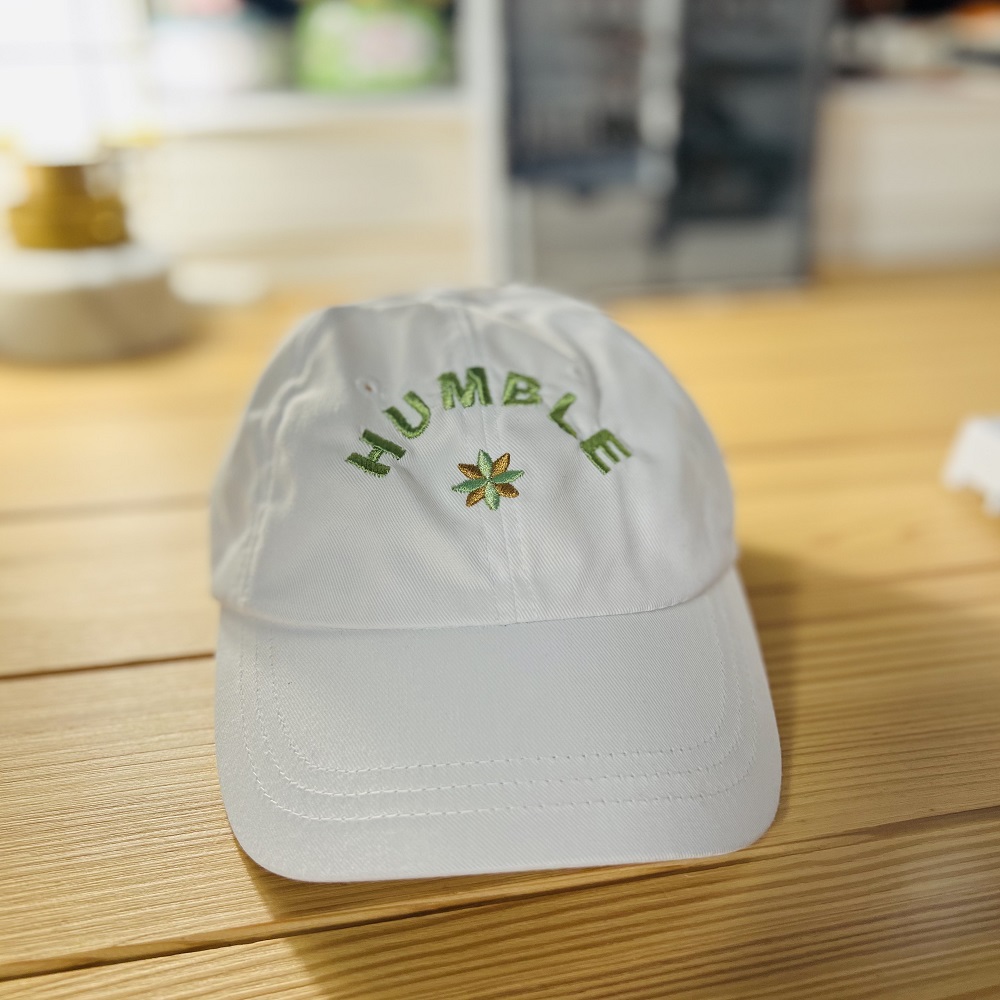
Once you have your cap and supplies ready, the next step is designing your embroidery pattern. This part is where creativity comes to life. Look for inspiration in various places, from nature and art to typography and graphics. Websites like Pinterest and design blogs can offer endless ideas. Consider what your design communicates—whether it’s a personal mantra, your favorite sports team, or a playful character. The pattern will significantly influence the visual outcome, so take your time brainstorming.
Sketching Your Design
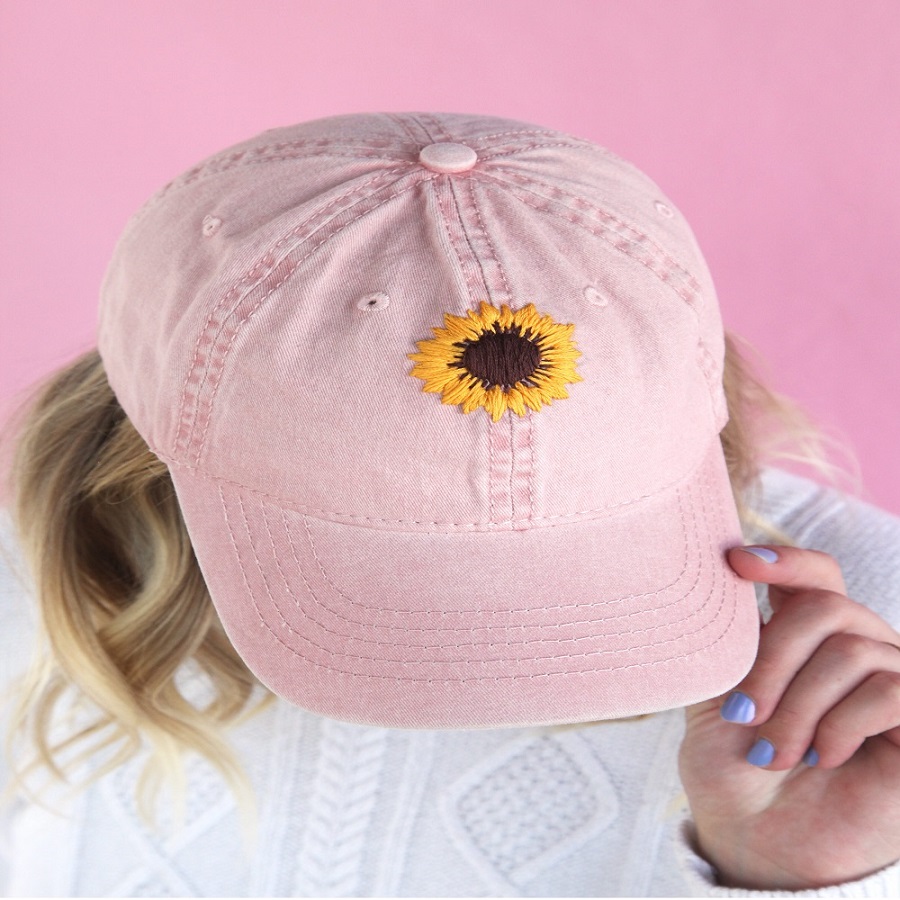
After gathering inspiration, sketch your ideas on paper or use design software to create a digital version. If you’re new to embroidery, start with a simple design; intricate patterns may require more advanced skills and techniques. Once you settle on a design, consider how it will be placed on the cap. Common options include the front panel, side, or back. Remember to account for the curve of the cap when positioning your design.

Preparing the Cap for Embroidery
Stabilizing the Fabric
Before you start stitching, it’s vital to prepare the cap properly. One of the most effective methods for ensuring that your design remains crisp and secure is to use a stabilizer. Stabilizers come in various forms, such as iron-on or tear-away. For baseball caps, a tear-away stabilizer is often the best choice. Simply cut a piece that fits the area you’ll embroider and attach it to the inside of the cap.
Marking the Design
With your stabilizer in place, it’s time to mark your design on the cap. You can use a fabric marker or chalk to lightly outline your pattern. This step is crucial because it serves as a guide while you sew. Don’t press too hard; you want the markings to be visible during the embroidering process yet easily removable or invisible once finished. Take time here to ensure the placement is exact, as mistakes can be challenging to rectify later.
Embroidering Your Baseball Cap
Choosing Your Stitch Technique
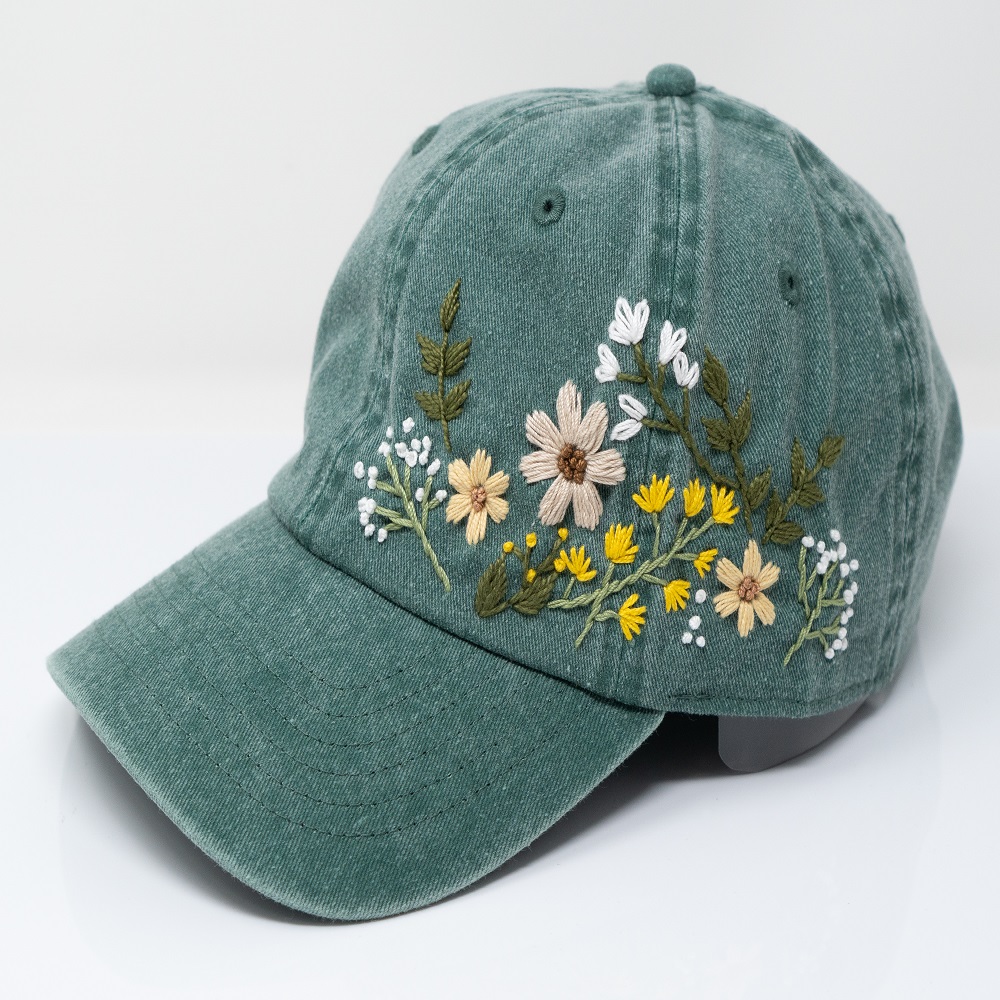
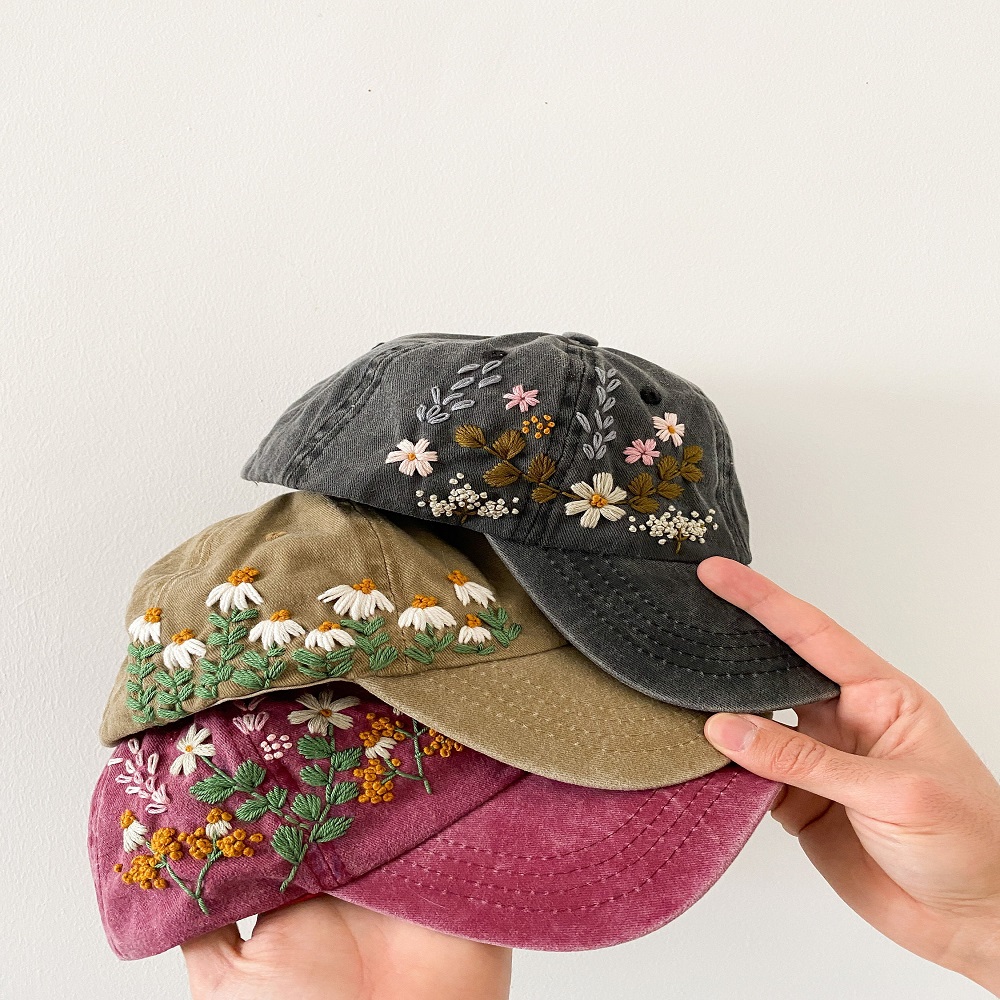
With your cap prepared and design marked, it’s time to embroider! Depending on your experience level, you can choose from hand embroidery or machine embroidery. Hand embroidery allows for a personal touch and creativity, while machine embroidery tends to produce more uniform results. If you opt for hand embroidery, basic stitches like backstitch, satin stitch, or French knots can be used depending on your design.
Starting the Embroidery Process
Begin stitching by securing your thread at the back of the fabric and working your way through the design. Follow your markings closely but don’t be afraid to go off-script if creativity strikes mid-stitch. If you encounter difficulties, take breaks to allow yourself to maintain focus. Also, remember to maintain even tension on your thread as you sew to ensure that the design looks neat and polished.
Finishing Touches
Cleaning Up Mistakes
Every embroiderer faces challenges during the stitching process; mistakes may happen. Whether it’s misplaced stitches or tension issues, don’t panic. Most errors can be fixed by carefully unpicking problematic sections and redoing them. If you accidentally mark your cap, most fabric markers can be easily removed with water or a damp cloth, so don’t worry about small blunders.

Securing and Trimming
Once you’ve completed your design, it’s time to secure your stitches. Knot your thread at the backside of the design to prevent unraveling. Trim any excess thread carefully, ensuring you leave enough length to tie off securely. If you’ve used a stabilizer, follow the manufacturer’s instructions for removal, whether that involves tearing it away or washing it out.
Caring for Your Embroidered Cap
Cleaning and Maintenance
To keep your beautifully embroidered baseball cap looking fresh, proper care is essential. Most caps are best washed by hand or placed in a delicate cycle in the washing machine. Always check the care label for specific instructions. Avoid harsh chemicals or bleach, which can fade the fabric and the colors in your embroidery. Gently spot-clean any stains as they arise to prevent them from setting in.
Storing Your Cap
Where and how you store your embroidered cap also matters greatly. Ideally, place it in a cool, dry spot, away from direct sunlight, which can cause discoloration. Ensure it retains its shape by storing it upright or on a hat rack. Avoid crushing it under other items, as this can distort the fabric and ruin your design. Proper storage will ensure that your cap remains a cherished piece of your wardrobe for years to come.
Showcasing Your Creation
Sharing with Friends and Family
After putting in all the hard work and creativity, it’s time to show off your stylish stitched baseball cap! Share photos on social media, send them to friends, or wear it in public settings; your unique creation is a conversation starter. Family and friends may even be inspired to try their hand at similar projects after seeing your finished product.
Creating for Gifts or Sales
If you’re considering expanding your embroidery hobby into a small business or gift-giving venture, your embroidered cap can be an excellent starting point. Personalizing caps for friends and family can make thoughtful gifts, while unique designs can appeal to potential customers. Share your work online or at local markets, and you might uncover a passion for creating that goes beyond your own wardrobe.
Conclusion: The Joy of Personalization
Embroidering your own baseball cap is not just a fun and engaging craft; it’s also a means of self-expression. It offers an opportunity to experiment with design, refine your sewing skills, and create a unique product that reflects your personality. By following these steps, you can embark on a rewarding journey from crafting to showcasing your stylish, embroidered baseball cap. Embrace the process, enjoy your creativity, and wear your cap with pride!
