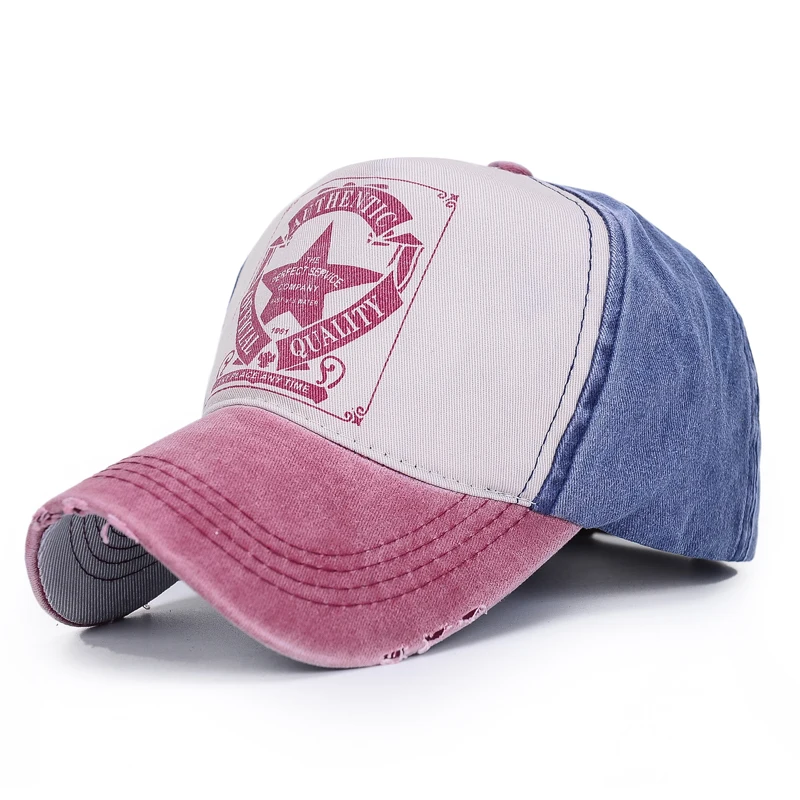
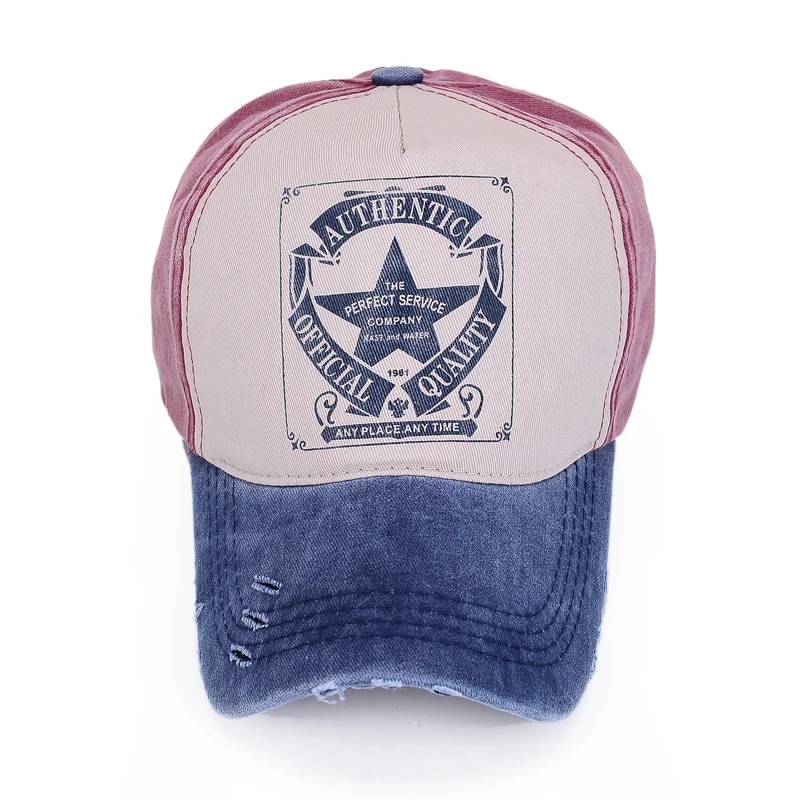
Creating your own crochet baseball cap can be both a fun and rewarding project. This detailed guide provides a free crochet pattern to help you craft a stylish and functional baseball cap, perfect for adding a personalized touch to your wardrobe. Whether you’re a seasoned crocheter or a beginner eager to learn, this pattern will walk you through each step with ease.
Understanding the Basics of Crocheting a Baseball Cap
What You Need to Know Before You Start
Before diving into the pattern, it’s crucial to understand the basics of crochet. A baseball cap typically consists of a crown, a brim, and sometimes an adjustable strap. Familiarize yourself with fundamental crochet stitches such as chain stitch, single crochet, double crochet, and slip stitch. Knowing how to read a crochet pattern and making a gauge swatch will also ensure your cap fits perfectly. The gauge swatch helps in adjusting the pattern to match your yarn and hook size, making sure your finished cap aligns with the desired measurements.
Selecting the Right Yarn and Hook
Choosing the right yarn and hook is essential for creating a stylish baseball cap. For a cap that’s both durable and comfortable, opt for a medium-weight cotton or acrylic yarn. Cotton yarn is breathable and suitable for warm weather, while acrylic offers more elasticity. The recommended hook size generally ranges between 4.5mm to 5.5mm, but this can vary based on your yarn choice. It’s always a good idea to check the yarn label for any specific recommendations and to make a test swatch to ensure you have the correct tension.

Step-by-Step Crochet Baseball Cap Pattern
Starting with the Crown
The crown is the top part of the baseball cap and is usually worked in a circular pattern. Begin by creating a magic ring, which forms the base of the crown. Work in rounds, using a combination of single crochet and double crochet stitches to increase the diameter gradually. Make sure to follow the pattern carefully to achieve the right shape and size. It’s helpful to place a stitch marker in the first stitch of each round to keep track of your progress.
Shaping the Crown
Once you’ve reached the desired size for the crown, you’ll need to shape it properly. This involves creating the sides of the cap by transitioning from increases to working in straight rounds. Pay attention to the stitch counts and the pattern instructions to ensure the cap maintains its structure. The shaping process can be a bit tricky, so take your time and adjust as necessary to achieve a smooth and rounded crown.
Crafting the Brim
The brim is what gives the baseball cap its distinctive look. Start by attaching your yarn to the edge of the crown and working in a series of single crochet stitches. To create a firm and wide brim, you may need to use a combination of single and half double crochet stitches. Increasing stitches at regular intervals will help in shaping the brim, ensuring it has enough width to provide shade and style. Make sure to check the width against your pattern to achieve the perfect balance.
Adding Finishing Touches
With the crown and brim completed, it’s time to add the finishing touches to your baseball cap. Weave in any loose ends using a yarn needle and trim excess yarn. You might also want to add embellishments like a decorative button or an embroidered logo to personalize your cap further. If your pattern includes an adjustable strap, follow the instructions to attach it securely, ensuring that it complements the overall design of the cap.
Adjusting the Pattern for Different Sizes
Customizing for Adults and Children
One of the great advantages of crocheting your own baseball cap is the ability to customize it to fit different sizes. For adult-sized caps, you may need to adjust the number of rounds in the crown and the width of the brim. For children’s caps, reduce the number of rounds and the circumference accordingly. The pattern can usually be modified by increasing or decreasing stitch counts and adjusting the length of the brim to fit various head sizes comfortably.
Adapting for Different Yarn Weights
If you choose to use a different weight of yarn than what is specified in the pattern, you’ll need to adjust the pattern accordingly. For thicker yarns, reduce the number of rounds or stitches to avoid an overly large cap. For thinner yarns, add extra rounds or stitches to ensure the cap maintains its intended shape. Always make a gauge swatch with the new yarn to verify the adjustments before starting the full project.

Tips and Tricks for a Perfect Crochet Baseball Cap
Maintaining Consistent Tension
Maintaining consistent tension throughout your project is key to achieving a well-made baseball cap. Uneven tension can lead to irregular shapes and sizes, which may affect the overall fit and appearance. Practice keeping an even tension by working slowly and checking your stitches frequently. Using a tension guide or practice swatches can also help in achieving a uniform look.
Using Stitch Markers and Notions
Stitch markers are invaluable tools for tracking your rounds and ensuring your cap’s shape remains consistent. They help you keep track of where each round begins and assist in maintaining even increases and decreases. Additionally, using a row counter can help you keep track of your progress, ensuring you don’t lose count and end up with an uneven cap.
Care and Maintenance of Your Crochet Baseball Cap
Washing and Storing
To keep your crochet baseball cap looking its best, follow proper care instructions. Hand wash your cap in cold water with mild detergent to prevent shrinkage or damage. Avoid wringing out excess water; instead, gently press the water out and lay the cap flat to dry. Store your cap in a cool, dry place away from direct sunlight to preserve its color and shape.
Repairing and Upgrading
Over time, you may need to repair or upgrade your cap to keep it in top condition. Small holes or loose stitches can be fixed with a simple crochet repair technique. For added longevity, consider reinforcing the brim or adding extra embellishments. Regular maintenance will ensure your baseball cap remains a stylish and functional accessory for years to come.
Exploring Different Crochet Techniques for Your Baseball Cap
Adding Texture with Stitch Variations
To make your baseball cap stand out, consider experimenting with different crochet stitch patterns. You can introduce texture by incorporating stitches like puff stitches, bobble stitches, or shell stitches into the crown or brim. These variations can add visual interest and create a unique look that sets your cap apart from standard designs. When integrating new stitches, make sure they are compatible with the overall structure of the cap to maintain its shape and functionality.
Incorporating Color work and Stripes
Color work is another way to personalize your crochet baseball cap. Try adding stripes, color blocks, or even a gradient effect using different yarn colors. To achieve clean lines between colors, you can use techniques such as color changes or intarsia. Keep in mind that when working with multiple colors, you’ll need to manage yarn strands and ensure that your tension remains consistent to prevent any puckering or unevenness.

Conclusion
Creating your own crochet baseball cap is a satisfying project that combines creativity with practicality. By following this free crochet pattern and adjusting it to fit your needs, you can craft a personalized cap that not only looks great but also reflects your unique style. Whether you’re making it for yourself or as a gift for someone special, this pattern offers a rewarding way to enhance your crochet skills and enjoy a stylish accessory. Happy crocheting!
