Introduction to Dyeing Baseball Caps
Dyeing baseball caps can transform them into unique pieces. It’s a way to express creativity and style. Before diving into how to dye a baseball cap, understand why it’s a great choice. Dyeing allows for personalization. You can match your cap with outfits or moods. It’s also an eco-friendly way to refresh old caps rather than buying new ones. Next, we will explore how to choose the right dye and prepare your cap for dyeing.
Choosing the Right Type of Dye for Your Baseball Cap
Choosing the right dye is crucial for a successful baseball cap dyeing project. There are several types of dyes to consider, each with their own benefits and limitations. Fabric dyes are the most common choice. They come in powder or liquid form. Powder dyes are versatile and cost-effective. Liquid dyes offer ease of use and consistent color. Another option is natural dyes, sourced from plants and minerals. They give unique hues but may be less vivid than fabric dyes.
To decide which dye to use, consider the cap’s material. Cotton caps work well with most fabric dyes. Synthetic materials may require special dyes designed for those fibers. The color choice is also a key factor. Bright and dark colors often need a stronger dye. Subtle shades may do well with natural dyes. Always follow the dye’s instructions. This ensures safety and the best results.
Remember, the goal is to achieve an even, long-lasting color that reflects your style. Take the time to pick the dye that will bring your vision to life.

Preparing Your Baseball Cap for Dyeing
Good preparation is the first step towards a successful baseball cap dyeing project. Here’s how to prepare your cap properly.
- Choose a Clean Workspace: Start by finding a spot that’s clean and free from clutter. It should be a place where you can work without worrying about staining anything important.
- Gather Your Materials: Make sure you have all the materials you’ll need close at hand. This includes the dye, gloves, a mixing bowl, hot water, and any applicators you plan to use.
- Wash the Cap: Before dyeing, wash your baseball cap to remove dirt, oil, and any finishes that might resist the dye. Let it dry completely afterward.
- Protect Your Work Area: Lay down plastic sheets or old towels to protect your work surface. Spills and splatter can happen, so it’s best to be prepared.
- Wear Protective Clothing: Put on old clothes and gloves. Dye can be messy, and it’s important to protect your skin and clothing.
- Prepare the Dye Solution: Following the dye’s instructions, prepare the dye solution. Make sure the solution is even and ready for use before you start to apply it.
By taking the time to prepare correctly, you increase your chances of achieving an evenly dyed baseball cap. Remember to work in a well-ventilated area and to dispose of any leftover dye responsibly.
Step-by-Step Guide to Dyeing Your Baseball Cap
Ready to start the dyeing process? Follow this simple, straightforward guide to give your baseball cap a fresh, new look.
- Prepare the Dye Bath: Heat water until it’s simmering, not boiling. Pour into your mixing bowl. Add the dye according to package instructions. Stir to dissolve thoroughly.
- Submerge the Cap: Wet your baseball cap in plain water. Squeeze out excess. Then, immerse it in the dye bath. Make sure it’s fully submerged.
- Apply the Dye: Use a spoon or tongs to gently move the cap around in the dye solution. Ensure even coverage by turning the cap in the dye.
- Soak the Cap: Leave the cap in the dye bath. Soak time will vary based on the dye’s brand and your desired color intensity. Check the instructions.
- Rinse the Cap: After soaking, rinse the cap under cold water. Continue until the water runs clear. This indicates excess dye is gone.
- Dry the Cap: Gently press out water from the cap. Lay it flat on a towel to air dry. Avoid wringing or twisting that could misshape the cap.
- Inspect Your Work: Once dry, check the cap for even dyeing. If you notice light spots, you can repeat the dyeing process for better coverage.
By following these steps, learning how to dye a baseball cap becomes an easy process. The keys to success are preparation and patience. Take it step by step, and soon you’ll have a baseball cap that’s as unique as your personal style.

Tips for Ensuring Even Dye Application
Achieving an even application when dyeing your baseball cap is essential for a professional finish. Here are the tips that will help you ensure a smooth, consistent color across your cap:
- Stir Regularly: Keep the dye mixture moving. Consistent stirring prevents dye from settling and causing blotches.
- Use Enough Dye: Don’t skimp on dye. Use enough to fully cover the cap to prevent light patches.
- Test the Color: Dip a paper towel into the dye first. This shows the actual shade before applying to your cap.
- Soak the Cap Evenly: Immerse the cap entirely. Let it soak for the recommended time for uniform color.
- Turn the Cap Frequently: In the dye bath, turn the cap often. This helps apply the dye evenly on all sides.
- Check for Missed Spots: Lift the cap out of the dye briefly. Check for any missed areas and re-submerge if needed.
- Rinse Thoroughly: After dyeing, rinse the cap until the water runs clear. This removes any excess dye.
By following these pointers, you can learn how to dye a baseball cap evenly. Patience and attention to detail will make your cap look great and stand out.
Creative Dyeing Techniques and Patterns
When you’re ready to add flair, consider these fun and creative dyeing techniques.
Tie-Dye
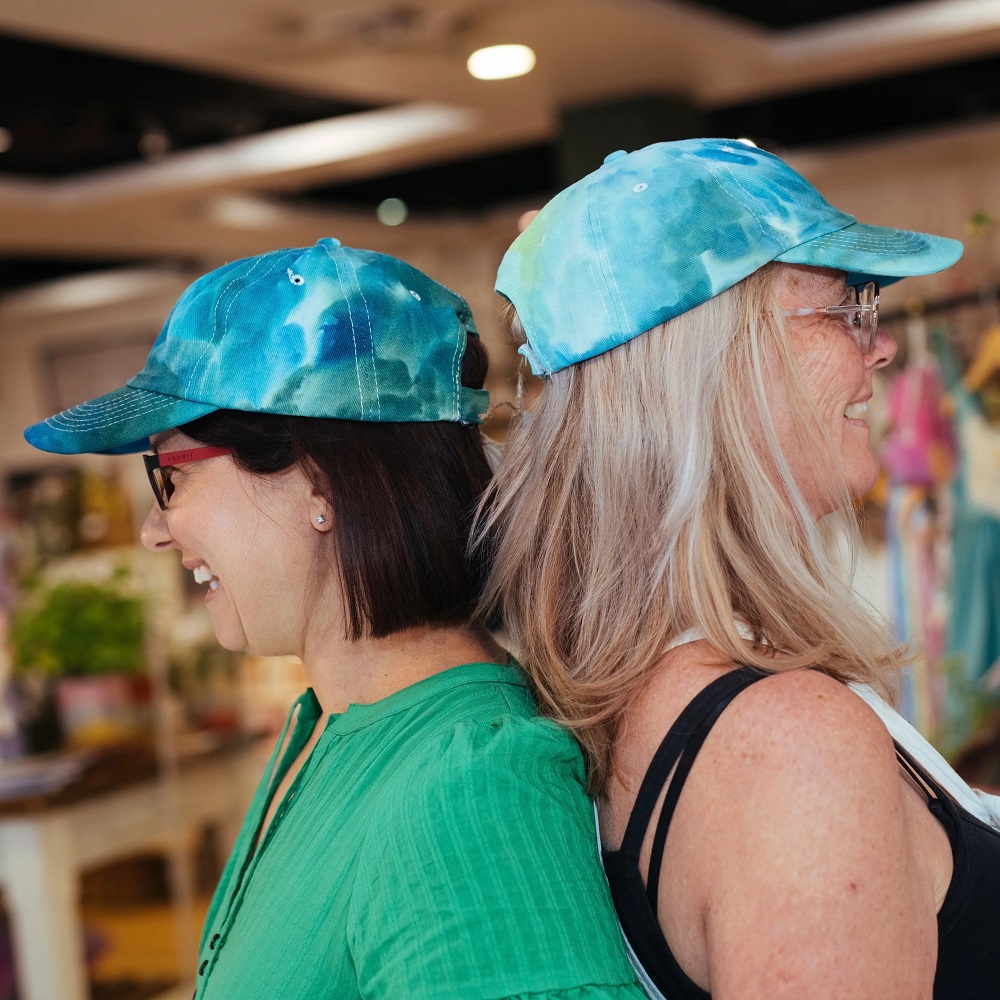
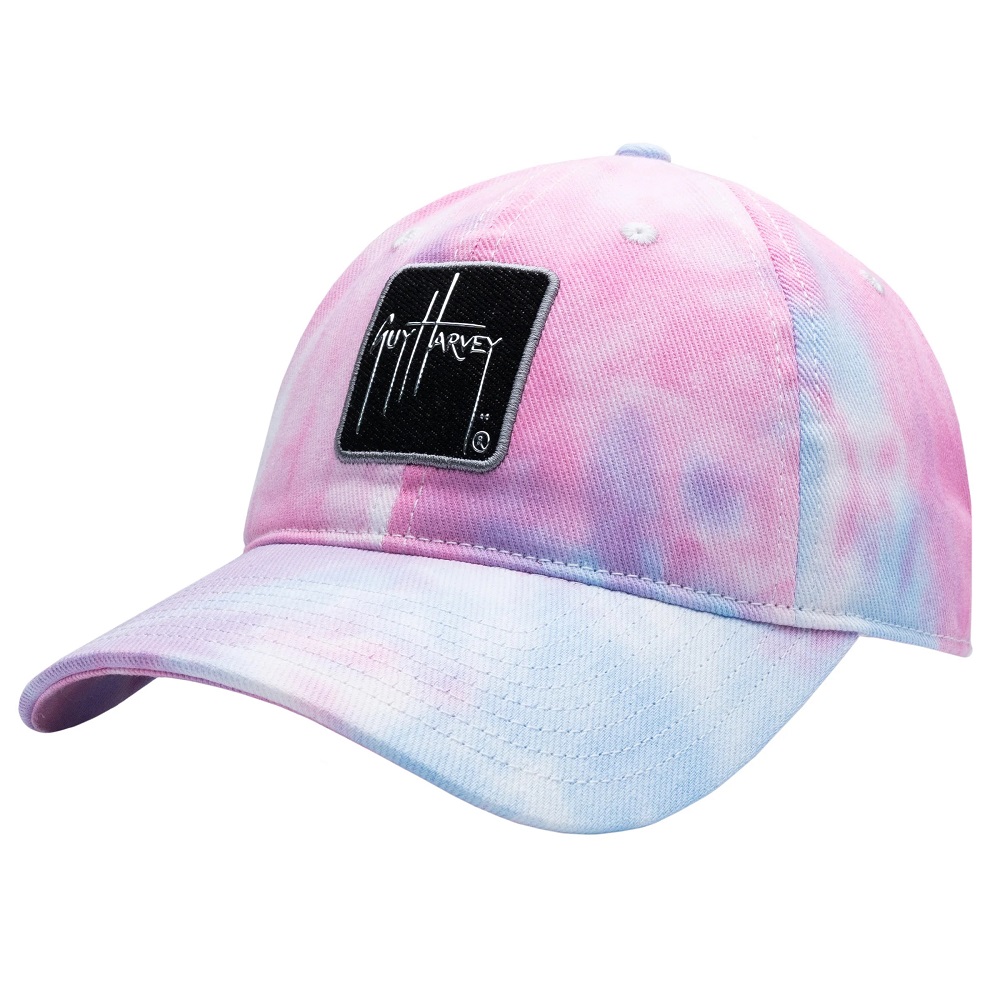
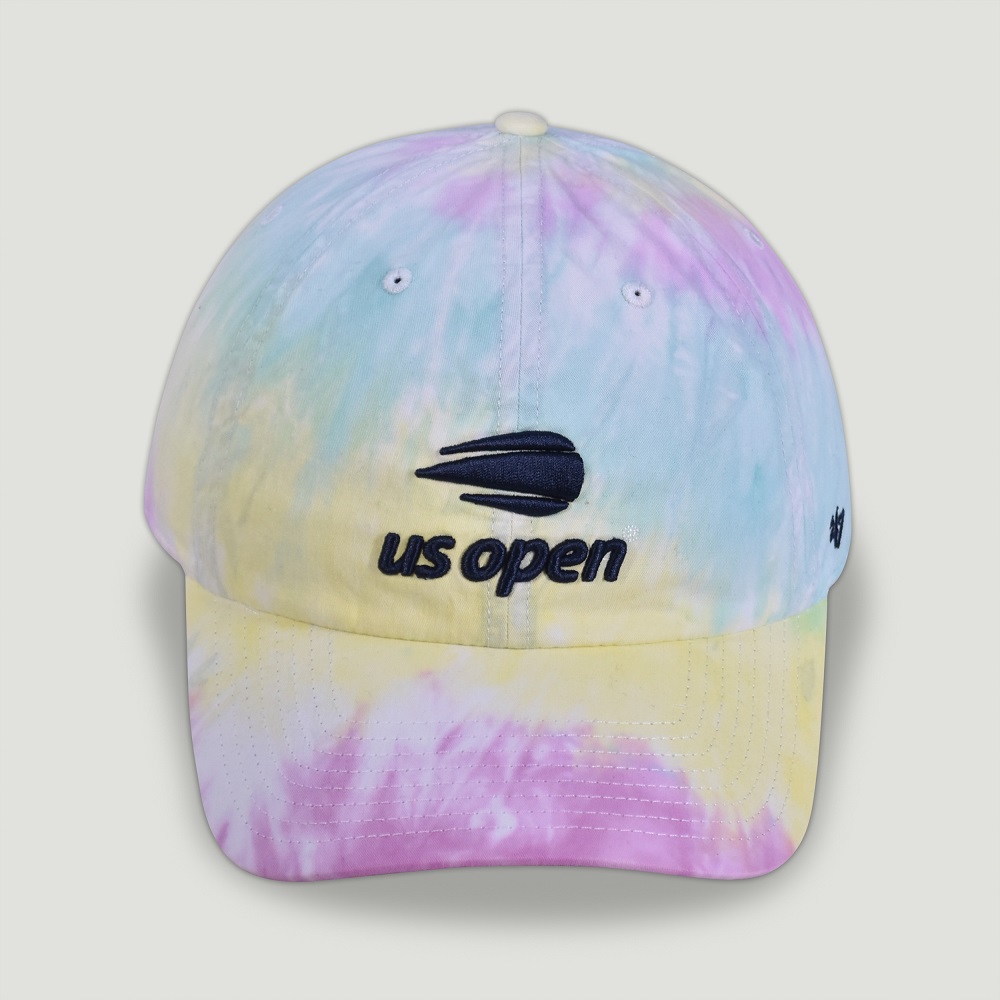
Create vibrant, swirling patterns with tie-dye. Bunch or twist your cap and secure it with rubber bands. Then, apply different colors for a groovy effect. Make sure to soak each area well for bold hues.
Dip-Dye
For a clean, two-toned look, dip the brim or bottom half of your cap. Hold it in the dye for a steady time. This creates a sharp line and a cool gradient.
Batik Method
Use the batik method for intricate patterns. Apply wax to areas you don’t want dyed. Dye the cap, and then remove the wax. This leaves detailed designs with a handcrafted touch.
Spray Dye
Get a spray bottle and fill it with diluted dye. Spray it over your baseball cap for an edgy, speckled look. Blend colors for a custom effect.
Stencil Dyeing
Set a stencil over your cap. Apply dye with a sponge for precision. Lift the stencil to reveal the shape or logo.
With these techniques, you learn how to dye a baseball cap with personal style. Experiment and combine patterns for a cap that’s truly one-of-a-kind.

Caring for Your Newly Dyed Baseball Cap
Ensuring that your freshly dyed baseball cap stays vibrant and colorful requires proper care. Here’s a simple guide to maintaining that new look for your baseball cap over time.
- Wash Gently: Hand wash the cap using mild detergent. Use cold water to prevent the dye from running.
- Avoid Harsh Chemicals: Stay away from bleach and other strong cleaning agents. They can strip the color from your cap.
- Limit Sun Exposure: Keep your cap out of prolonged direct sunlight. UV rays can fade the dye over time.
- Dry Naturally: Let your cap air dry on a flat surface. Do not use a tumble dryer, as heat could set stains or cause fading.
- Store Properly: When not wearing your baseball cap, store it in a cool, dry place. This helps to maintain its shape and color.
- Use a Color-Safe Detergent: If machine washing is necessary, select a detergent designed for colored fabrics.
- Spot Clean When Possible: Address small spots or stains by spot cleaning rather than washing the whole cap.
By following these care steps, you will preserve the rich color of how to dye a baseball cap, keeping it looking fresh and on-trend.
Trendy Dyeing Ideas and Inspirations for 2025
As trends evolve, so does the art of dyeing baseball caps. For 2025, there are several hot trends that blend traditional techniques with fresh, modern twists. Here’s a look at some inspiring ideas to get those creative juices flowing:
- Pastel Tones: Soft, muted colors are making a comeback. Try dyeing your baseball cap in pastel shades to align with the trend.
- Geometric Patterns: Use tape or stencils to create sharp lines and shapes on your cap. Then dye within these areas for a geometric masterpiece.
- Earth Tones and Neutrals: Nature-inspired colors like greens, browns, and tans are on the rise. They lend a classic look that’s both trendy and timeless.
- Neon Splashes: For those who love a bold statement, neons are the way to go. Add pops of bright neon to a dark base for an eye-catching contrast.
- Ombré Effect: Gradients are still loved by many. Achieve this by slowly dipping your cap to get a seamless transition from one color to another.
- Personalized Logos: Add a personal touch by dyeing initials or logos onto your cap. It’s a unique way to make your mark.
- Mixing Dyeing Techniques: Combine methods like tie-dye and dip-dye for a cap that features the best of both worlds.
- Eco-Friendly Dyes: With a growing emphasis on sustainability, using eco-friendly dyes is a must-try. They’re better for the environment and can achieve beautiful results.
With these ideas and your own creativity, learning how to dye a baseball cap becomes an exciting style journey. Just remember to follow the basics of preparation and care to ensure your cap stays looking sharp. Share your new creations and embrace your individuality with confidence!
