Baseball caps are more than just a fashion accessory; they are a staple in many people’s wardrobes. Whether it’s to shield your eyes from the sun, make a style statement, or show support for your favorite team, a well-worn baseball cap can carry immense sentimental value. However, time takes a toll on things, and even your favorite cap may experience wear and tear. Whether it’s a frayed brim, a stained fabric, or a bent visor, there are ways to bring your cap back to life. This article provides expert tips on repairing your baseball cap, ensuring that your favorite headwear remains in your rotation for years to come.
Understanding the Structure of a Baseball Cap
The Anatomy of a Baseball Cap
To effectively repair a baseball cap, it’s essential to understand its different components. Typically, a baseball cap has several main parts: the crown, brim, sweatband, and closure. The crown is the top part that sits on your head, usually featuring panels that provide structure. The brim acts as a shield against the sun and adds to the cap’s style. The sweatband is often made of a soft, absorbent material, designed to absorb sweat during your activities. Lastly, closures like snaps, Velcro, or fabric straps allow for adjustment to ensure a snug fit.
Importance of Materials
Baseball caps are made from various materials, including cotton, polyester, wool, and blends thereof. Each material has its benefits and drawbacks in terms of durability, comfort, and ease of cleaning. For instance, cotton caps are breathable and comfortable but may not withstand wet conditions as well as synthetic options. Understanding the material of your cap will significantly influence both the repair methods employed and the longevity of your repair work. Identifying the fabric type allows you to choose the correct cleaning and repair agents, which is crucial in maintaining the cap’s original look and feel.

Cleaning Your Baseball Cap Before Repair
Assessing the Damage
Before diving into repairs, you should clean your baseball cap thoroughly. Inspect the cap for stains, dirt, and any odors that could compromise the repair process. Some damages, such as fraying fabric or indelible marks, may be exacerbated by failing to clean the cap first. A clean cap allows you to make better assessments about what specific repairs need to be made. After detailing any issues, you can plan your cleaning method accordingly, whether that involves spot cleaning or a deep clean.
Best Practices for Cleaning
There are a few effective cleaning methods for baseball caps. For surface dirt and sweat stains, spot cleaning is generally effective. Use a damp cloth with a mild soap solution, applying it directly to the stained area, and gently rubbing in a circular motion. For a deeper clean, you can soak the cap in warm water with a gentle detergent. Let it sit for about 30 minutes, then rinse it under cold water. Avoid excessive wringing, as this can warp the structure of the cap. Always air dry your cap rather than using a dryer, as heat can shrink the material. Proper cleaning not only improves the appearance but also prepares the cap for any necessary repairs, ensuring that you’re starting with a clean slate.
Repairing a Frayed Brim
Identifying the Fray
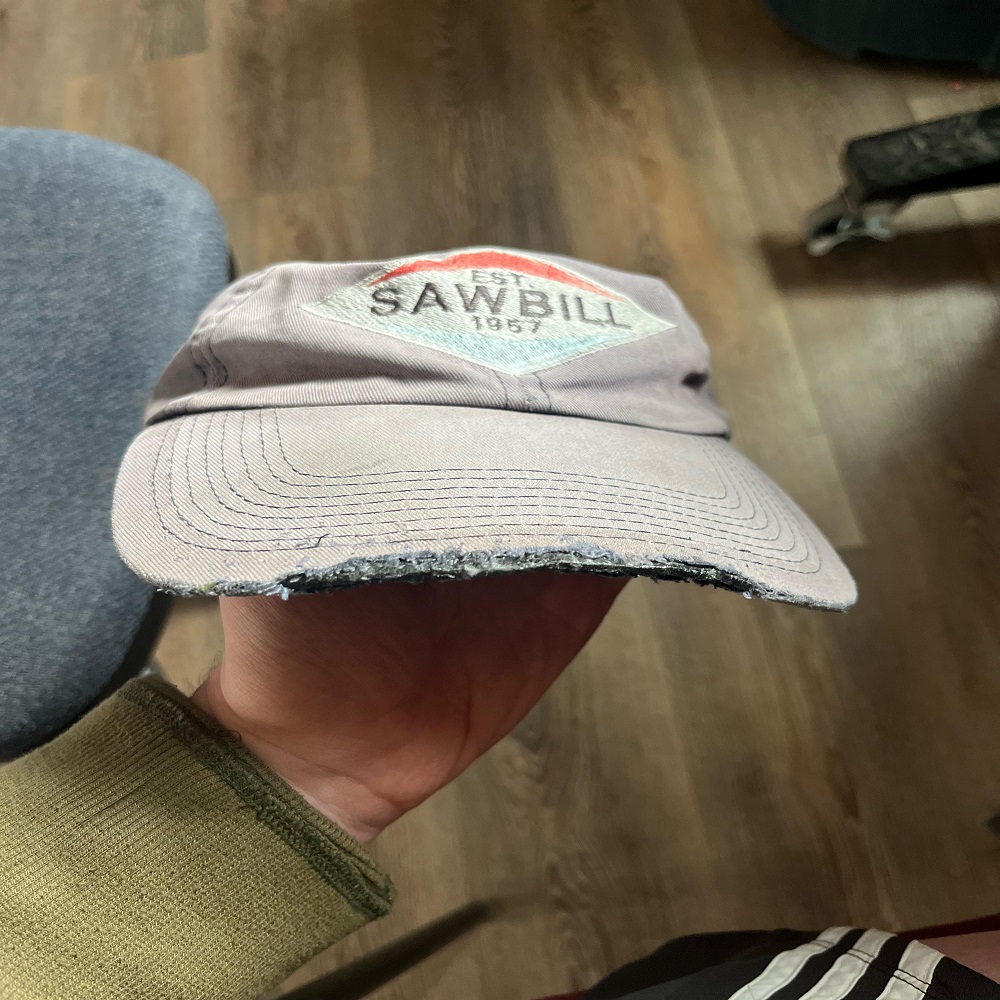
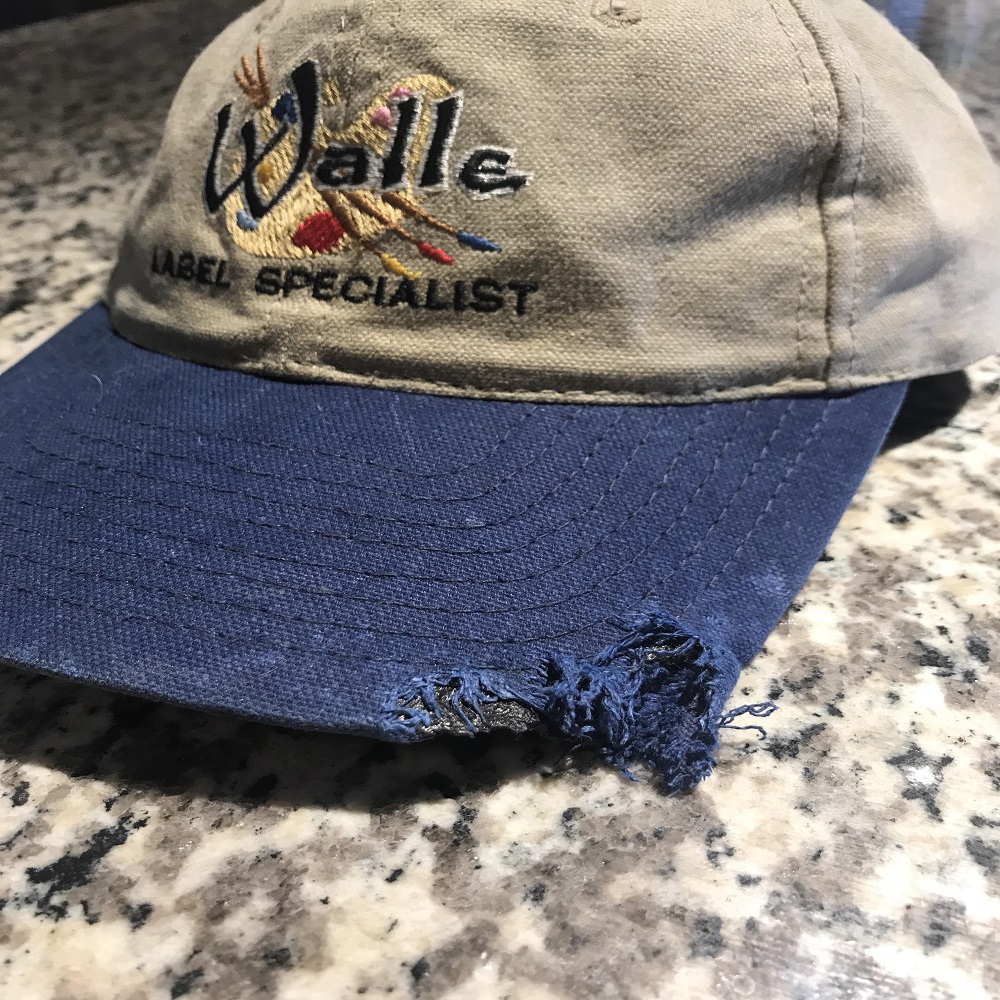
One of the most common issues with baseball caps is a frayed brim. Whether caused by wear and tear or an accidental snag, a frayed brim can make your cap look older than it is. Identifying the extent of the fray is crucial; if it’s minor, simple stitching might suffice, but if it’s severe, you might need a more thorough fix. Examine the fabric closely to see if the threads are simply unraveled or if there’s a noticeable tear in the material itself.
Stitching Techniques for Repair
If the brim’s fray is minor, you can employ basic needle-and-thread stitching techniques to repair it. Choose a thread that closely matches the cap’s color, ensuring that the repair goes unnoticed. Use a small, fine needle to get through the cap’s fabric without causing additional damage. Start by sewing the loose threads back into place, working from the inside of the brim to keep the stitches hidden. For larger frays or tears, you may decide to use a sewing machine or more complex stitching techniques like a zig-zag stitch for strength. Completing this repair properly can extend the cap’s life by years and restore its original silhouette.
Addressing Stains and Odor Removal
Types of Stains
Stains on your baseball cap can come from various sources—sweat, food, dirt, or even oil. Each type of stain has specific cleaning protocols, so identifying the source can help you choose the right cleaning agents. For instance, sweat stains often require enzymatic cleaners to break down the proteins, while grease stains need a degreaser for removal.
Effective Stain Removal Techniques
To tackle sports stains, apply a concentrated stain remover directly to the affected area. Allow it to soak for about 10-15 minutes before laundering it in cold water. If the stain persists, repeating this process or using a toothbrush to scrub gently can prove beneficial. For tough odors, consider soaking the cap overnight in a vinegar solution (1 part vinegar, 2 parts water). It works wonders for neutralizing odors and can even help with piecing together some stubborn stains. Make sure to rinse thoroughly afterward to remove any vinegar scent. Proper stain removal not only enhances a cap’s appearance but also helps maintain its fabric integrity.

Repairing the Sweatband
Understanding Sweatband Issues
The sweatband is an integral part of a baseball cap because it directly contacts your skin. Over time, sweatbands can degrade, become discolored, and lose their elasticity. Identifying when a sweatband requires replacement or simply needs a wash is critical. If your sweatband appears to be fabric but has become entirely discolored or odorous, it may warrant a repair or replacement.
Steps for Replacement
If you need to replace your sweatband, you can sew in a new one or purchase a DIY sweatband repair kit. First, remove the old sweatband by carefully ripping out the old stitches, ensuring not to damage the cap’s crown in the process. Once you’ve removed it, cut a new band from a similarly textured fabric that matches your cap and affix it using a needle and thread or fabric glue. Ensure that you stretch it a bit during attachment, so it maintains its elasticity. Depending on the cap’s structure, reinforcement may help to keep the new sweatband secure. This often-overlooked component can rejuvenate your cap and offer renewed comfort while wearing it.
Reshaping a Bent Visor
Causes of a Bent Visor
A bent or warped visor can throw off an otherwise stylish baseball cap. This issue often emerges from improper storage or significant wear and tear. When stored improperly (such as under heavy items), visors can lose their shape. Being aware of the factors that can cause bending is the first step toward maintaining proper cap care.
Methods to Fix the Visor
To repair a bent visor, there are several techniques you can implement. Start by removing the cap’s inner lining carefully if it’s detachable. This step allows you to manipulate the visor with more freedom. From here, you can use the steam from a kettle to soften the visor slightly, making it more malleable. Use a sharp, flat object that matches the visor’s original shape and carefully press the visor back into its intended form. After reshaping, let it cool while maintaining pressure to set the new form. Finally, reattach the inner lining, if you removed it. Following these steps will help your cap regain that coveted, original profile that emphasizes its style.

Personalizing Your Baseball Cap After Repair
Why Personalize?
Now that your baseball cap is clean and functioning correctly, why not add a personal touch? Personalizing your cap makes it unique, allows you to express your individual style, and can often cover up any imperfections from previous repairs. Whether you add patches, embroider initials, or attach decorative pins, personalization can enhance your cap’s visual appeal.
Techniques for Personalization
There are numerous methods to personalize your cap. For stitches or embroidery, you can hand-embroider designs, initials, or meaningful symbols. If you’re looking for something simpler, enamel pins or patches can be sewn or pinned onto the fabric, adding flair in less time. When adding embroidery, ensure that the location of the design is carefully chosen so that it doesn’t affect the functional areas of the cap. Alternatively, consider fabric paint for a more creative approach, ensuring that it’s durable and suitable for the cap’s fabric type. Whatever your choice may be, personalization can lead to a renewed appreciation for an old cap or an entirely fresh perspective on your style.
Conclusion: Caring for Your Baseball Cap
Developing a Care Routine
After investing time and effort into repairing your beloved baseball cap, consistent care will ensure it remains stylish and functional for years to come. Developing a regular cleaning routine, along with occasional repairs for any emerging issues, will prolong the life of your cap considerably. Inspect the cap regularly for stains, fraying threads, or odors, and address issues as they arise.
Long-Term Cap Care Tips
To protect caps from future wear, store them in a cool, dry place, away from sunlight that can cause fading. Use a cap rack or a hat box to maintain its shape. Additionally, cleaning your cap every couple of months—even if it doesn’t appear dirty—can help prevent odors and buildup. Investing in a quality cap cover can be beneficial if you plan on storing it for long periods. With these structured guidelines, you can keep your baseball cap looking fresh, ensuring that it remains a staple in your wardrobe for years to come.
In summary, with the right techniques and a little bit of effort, you can revive your beloved baseball cap and keep it stylish, functional, and ready for your next outing.
