Pre-Cleaning Assessment
Before diving into the cleaning process, it’s crucial to assess your baseball cap properly. This pre-cleaning evaluation helps ensure that you choose the best methods and products, preventing damage to your cap.
Identifying Material and Construction
Start by examining the fabric and construction of your baseball cap. Check the label inside the cap for material details—common fabrics include cotton, polyester, and blends. Understanding the material helps decide the cleaning agents and methods you should use. Also, observe the cap’s structure; note any cardboard inserts or mesh panels.
Testing Colorfastness
Always test for colorfastness before applying any cleaning product. To do this, dab a small amount of mild detergent mixed with water on a hidden part of the cap. A good spot for this could be under the edge of the cap. Check if the color transfers to a white cloth. If it does, using only water for cleaning might be safer, especially for older or brightly colored caps.
Initial Cleaning Steps
Before you start the deep cleaning process, removing any loose dirt and dust from your baseball cap is essential. This initial step helps prevent any debris from setting in further during the washing process.
Removing Loose Dirt and Dust
First, take a soft-bristled brush or a clean, dry cloth and gently brush off any noticeable dirt or loose particles. Be careful not to scrub too hard, as this could damage the fabric of the cap. Pay particular attention to the areas that come into contact with skin, like the inner band, as they tend to accumulate more sweat and oils.
Next, turn your cap inside out and shake it to dislodge any additional particles that might be hiding in the crevices. A gentle tapping on the cap can also help release more stubborn particles. If you have a lint roller, use it to pick up any remaining dust and hair.

Spot Cleaning Stains
The next step is to address any visible stains before proceeding to the full wash. Here’s how you can spot clean effectively:
- Prepare a solution of mild detergent and warm water. Avoid bleach or harsh chemicals, especially on colored fabrics, as they can cause fading.
- Dip a soft toothbrush or a clean cloth into the solution and gently tap it onto the stain.
- Using the toothbrush or cloth, apply small, gentle, circular motions to the stained area. Do not rub too hard to prevent the fabric from wearing out.
- After treating the stain, allow the cap to sit for a few minutes so that the cleaning solution can penetrate the fabric.
- Rinse the area with cool water to remove any excess detergent. Be sure to rinse thoroughly to avoid any soap residue, which can attract more dirt over time.
- Pat the cleaned spot with a dry towel to absorb the moisture. At this point, do not attempt to dry the cap under direct heat or sunlight.
By following these initial cleaning steps, you’ve set the stage for deeper cleaning while protecting your cap’s integrity and appearance.
Deep Cleaning Techniques
Once your baseball cap is free from loose dirt and pre-treated for stains, it’s time for deep cleaning. Deep cleaning helps remove ingrained dirt and sweat stains, ensuring your cap looks and smells fresh.
Choosing the Right Detergent
Picking the right detergent is key to effective cleaning without damaging your cap. Opt for a mild, bleach-free detergent. This will help preserve the cap’s color and fabric. If the cap is made of wool or another delicate material, consider a detergent specifically made for that fabric.
Hand-Washing Your Cap
Now, let’s hand-wash your cap following these steps:
- Fill a sink or basin with cool to warm water, steering clear of hot water.
- Add a small scoop (about a tablespoon) of your chosen detergent to the water.
- Submerge your cap in the solution, ensuring it is fully soaked.
- Gently scrub the cap with a soft brush or your hands, focusing on any dirty spots.
- Allow the cap to sit in the soapy water for up to 30 minutes, checking halfway through.
- Rinse the cap thoroughly with cool water until all soap is gone.
- Press out excess water gently, careful not to twist the cap, which can warp its shape.
By hand-washing, you control the cleaning, protecting your cap from harsh machine cycles and maintaining its form and design.

Post-Cleaning Care
After you’ve hand-washed your baseball cap, it’s important to dry it correctly. This section will guide you through proper drying techniques to prevent damage and maintain your cap’s shape.
Proper Drying Techniques
Drying your cap properly is crucial to retain its look and fit. Here are steps to follow:
- Shake off excess water gently from the cap.
- Use a clean towel to pat down the cap. Do this lightly to avoid distorting the fabric.
- Avoid wringing out the caps, as it can damage the shape and stitches.
- Never use a dryer; the intense heat can shrink or warp your cap.
- Place the cap on a container or form that mimics your head’s shape. This helps maintain the cap’s curve and fit as it dries.
- Leave the caps to air dry in a well-ventilated space. Avoid direct sunlight or heat, which can cause fading.
- If you want to speed up drying, use a fan. Aim it towards the caps on a low setting.
Maintaining Shape During Drying
Keeping your cap’s shape while it dries is important. Use household items to help:
- Find a bowl or a ball that fits inside the caps. This acts as a makeshift mannequin.
- For the brim, use a small towel rolled up to support it and prevent drooping.
- Check the cap’s shape periodically as it dries. Adjust the form as needed.
- Once the cap is dry, wear it for a short while to reshape it to your head.
By following these drying and shaping tips, your cap will look great and fit comfortably after each cleaning.
Special Considerations
When cleaning baseball caps, certain types need extra attention.
Handling Older or Vintage Caps
Older or vintage caps are often more delicate than modern versions. Start by checking their fabric and construction. Avoid water if the cap has a cardboard bill – moisture can damage it. For color testing, apply a small amount of cleaner on the inside. If the cloth picks up color, use only water for cleaning. Treat stains with gentle tapping instead of scrubbing to protect the material.
Tips for Specific Materials Like Wool
Wool caps require special care. Use a cleaner designed for wool to avoid damage. Gently blot stains rather than scrub. Never wring out a wool caps; it can distort its shape. After washing, pat it gently with a towel and let it air dry on a suitable round object to maintain form.

Alternative Cleaning Methods
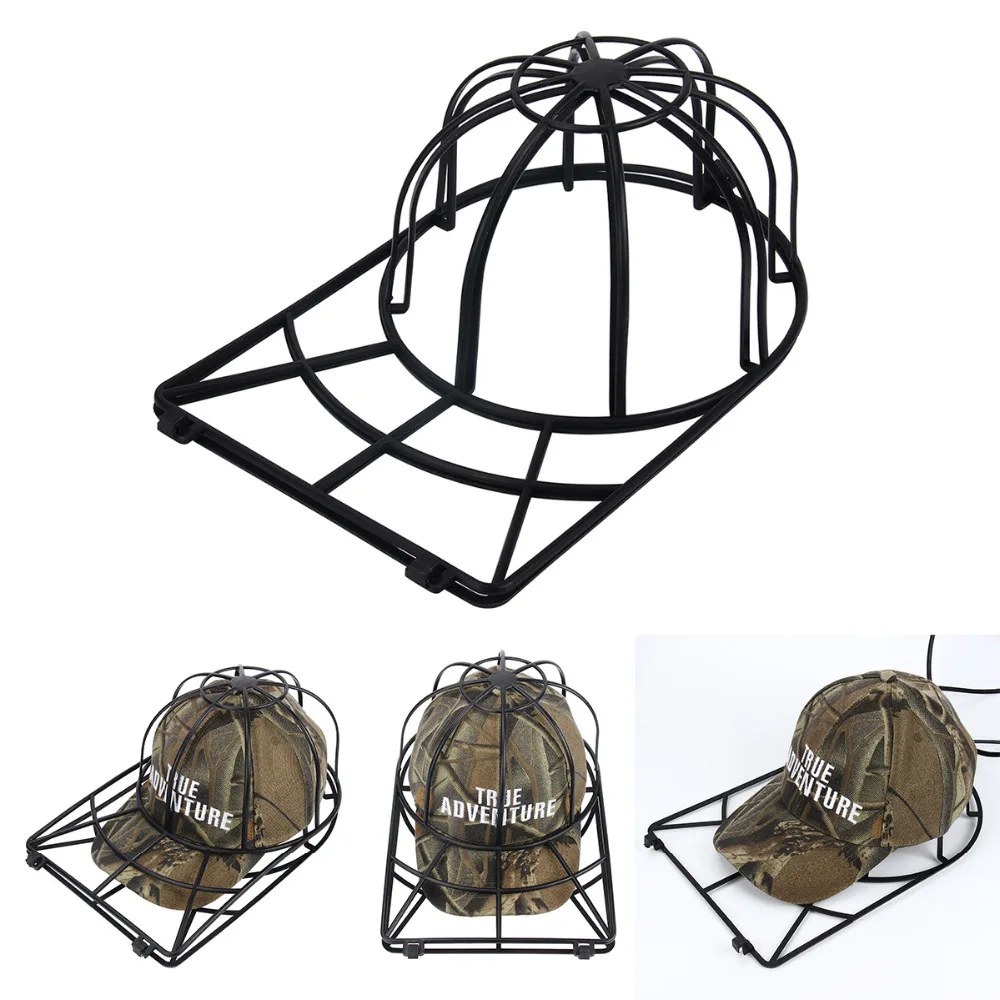
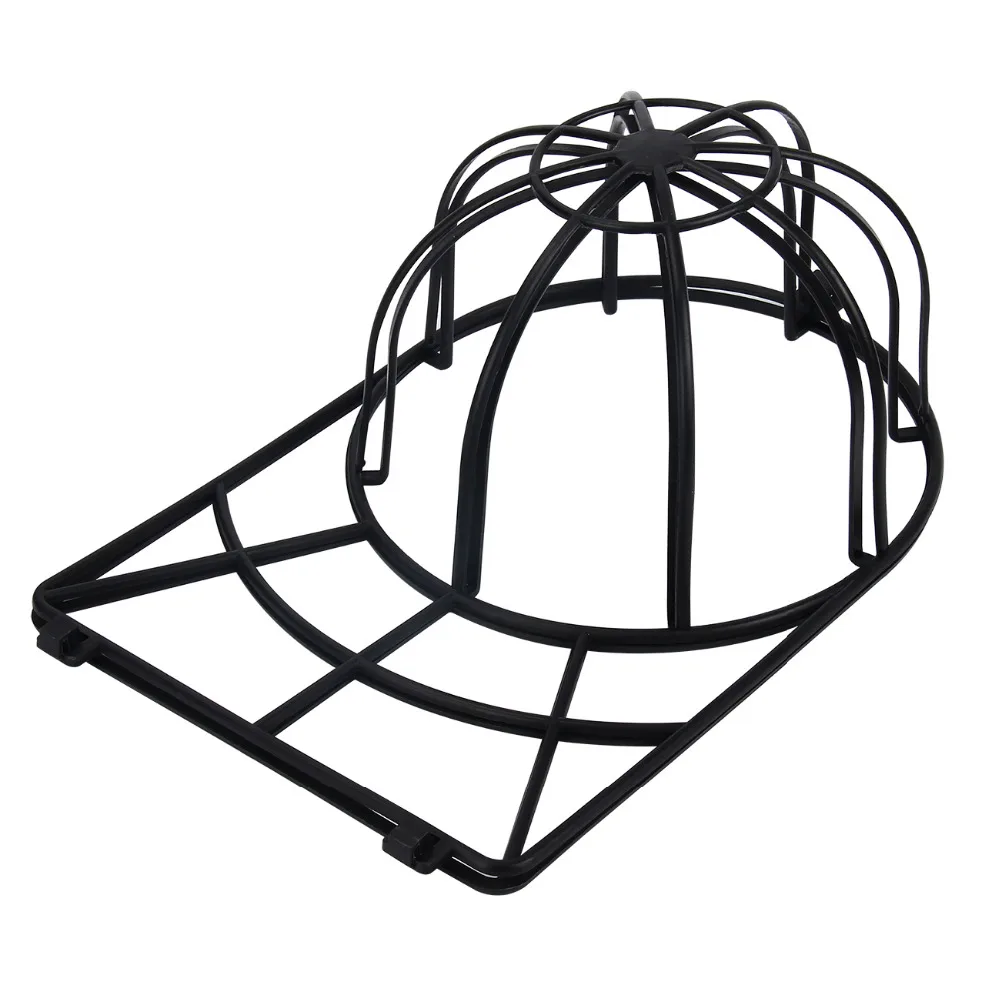
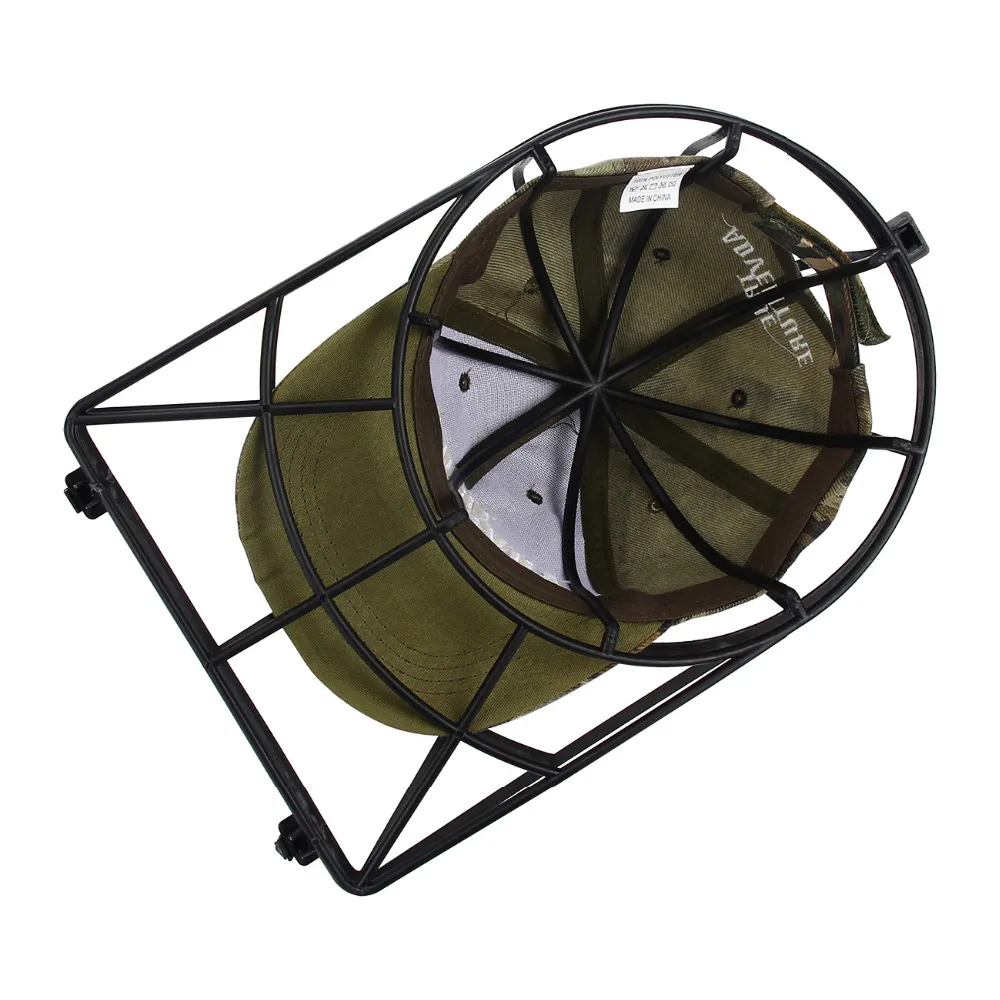
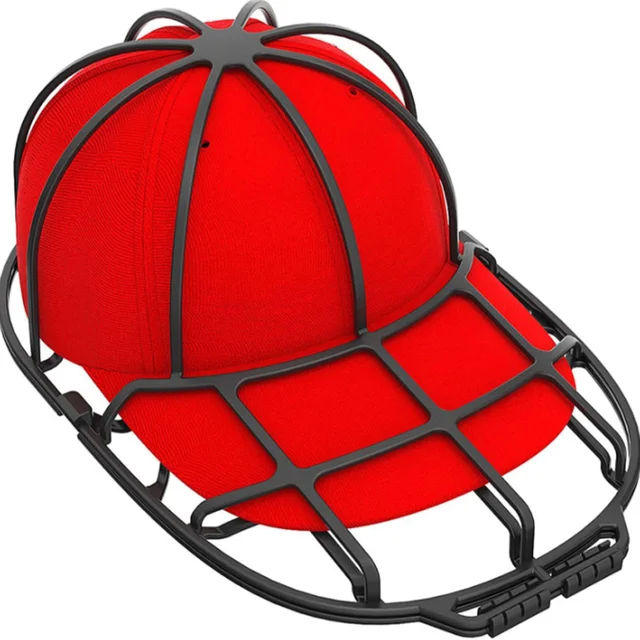
For those looking for additional ways to clean a baseball cap, various alternative methods exist. However, extra caution should be exercised to ensure that these alternatives do not compromise the cap’s material or color. Besides hand-washing, some people consider gentle machine washing inside a protective mesh bag or using specialized hat cleaning kits designed for cap care. Always consult the cap manufacturer’s recommendations before trying these methods.
What to Avoid When Cleaning Your Baseball Cap
Certain practices can damage baseball caps during cleaning. It’s important to avoid:
- Using bleach or harsh chemicals, which can fade colors and weaken fabrics.
- Exposing caps to high heat, like in dryers or dishwashers, as it can warp and shrink them.
- Rigorous scrubbing or wringing, which distorts shape and can damage stitching.
By avoiding these harmful practices and choosing appropriate cleaning methods, you can keep your caps looking fresh and ensure its longevity.
