Dyeing a baseball cap can be an exciting way to personalize your style or refresh an old favorite. This process not only allows you to change the color of your cap but also can be a creative outlet. Whether you’re aiming for a solid hue or a unique tie-dye effect, understanding the techniques and tips for successful dyeing is essential. This article will delve into various methods, materials, and best practices to ensure you achieve your desired results.
Choosing the Right Baseball Cap for Dyeing
Material Matters
When considering dyeing a baseball cap, the material is crucial. Most caps are made from cotton, polyester, or a blend of fabrics. Natural fibers like cotton and linen tend to absorb dye more effectively than synthetic materials, which can result in a richer color. If your cap is predominantly polyester, opt for a dye specifically designed for synthetic fabrics, such as disperse dye. Always check the care label on your cap to determine its fabric composition, as this will guide you in selecting the appropriate dye.
Cap Style and Construction
The style of the cap also influences the dyeing process. Structured caps with stiff brims may require more attention during dyeing to ensure even coverage. On the other hand, unstructured caps are often more forgiving. Additionally, consider the color of the cap before dyeing; lighter colors typically take dye better than dark shades. For dark caps, you may need to use a color remover first before applying your chosen dye. Taking these factors into account will help you select the best cap for your dyeing project.

Selecting the Right Dye
Types of Dyes Available
The dye you choose plays a significant role in the outcome of your project. For natural fibers, fabric dye such as Rit or Dylon works well and is widely available. These dyes come in various colors and can be mixed for custom shades. For synthetic materials, look for disperse dyes, which require a different application method, usually involving heat. Additionally, consider using tie-dye kits if you’re interested in creating patterns. These kits often include everything you need, making the process easier for beginners.
Environmental Considerations
When selecting dye, think about its environmental impact. Some dyes contain harsh chemicals that can harm the environment during disposal. Opt for eco-friendly dyes that are biodegradable and free from toxic substances. Many brands now offer natural dyes derived from plants and minerals, providing vibrant colors without the negative environmental footprint. By making mindful choices, you can enjoy your dyeing project while minimizing harm to the planet.
Preparing Your Workspace
Setting Up a Dyeing Station
Before you start dyeing your baseball cap, it’s essential to prepare your workspace. Choose an area that is well-ventilated, as dyeing can produce strong odors and fumes. Cover surfaces with plastic sheeting or old newspapers to catch any spills. Gather all necessary supplies, including dye, gloves, plastic containers, and a stirring tool. Having everything organized will help streamline the process and reduce the chances of making a mess.
Safety Precautions
When working with dyes, safety should be a priority. Always wear gloves to protect your hands from staining and irritation. If using dye powders, consider wearing a mask to avoid inhaling particles. It’s also advisable to wear old clothes, as dye can easily stain fabrics. Keep pets and children away from the workspace to prevent accidents. By taking these precautions, you can enjoy your dyeing experience while ensuring safety.
Prepping the Cap for Dyeing
Cleaning the Cap
Before applying any dye, it’s crucial to clean your baseball cap. Remove any dirt, dust, or oils that could interfere with dye absorption. A gentle wash with mild detergent and warm water is typically sufficient. Rinse thoroughly and allow the cap to dry completely. If your cap has any stains, treat those areas with a stain remover before dyeing. A clean cap will yield better results, ensuring that the dye adheres evenly.
Testing for Color Fastness
If you’re unsure how the dye will interact with your cap’s fabric, conduct a color fastness test. Dampen a small, inconspicuous area of the cap and apply a small amount of the dye. Let it sit for the recommended time, then rinse and dry the area. This test will help you determine how the fabric reacts to the dye and whether any pre-treatment is necessary. It’s a simple yet effective way to prevent potential disappointments later in the process.

Dyeing Techniques: Solid Color
Method Overview
Dyeing a baseball cap a solid color is the most straightforward technique. Start by preparing the dye according to the manufacturer’s instructions, which usually involves mixing the dye with water and heat. This method works best for immersing the entire cap in a dye bath. Make sure to use a large enough container to hold the cap fully submerged.
Dyeing Techniques: Tie-Dye
Preparing for Tie-Dye
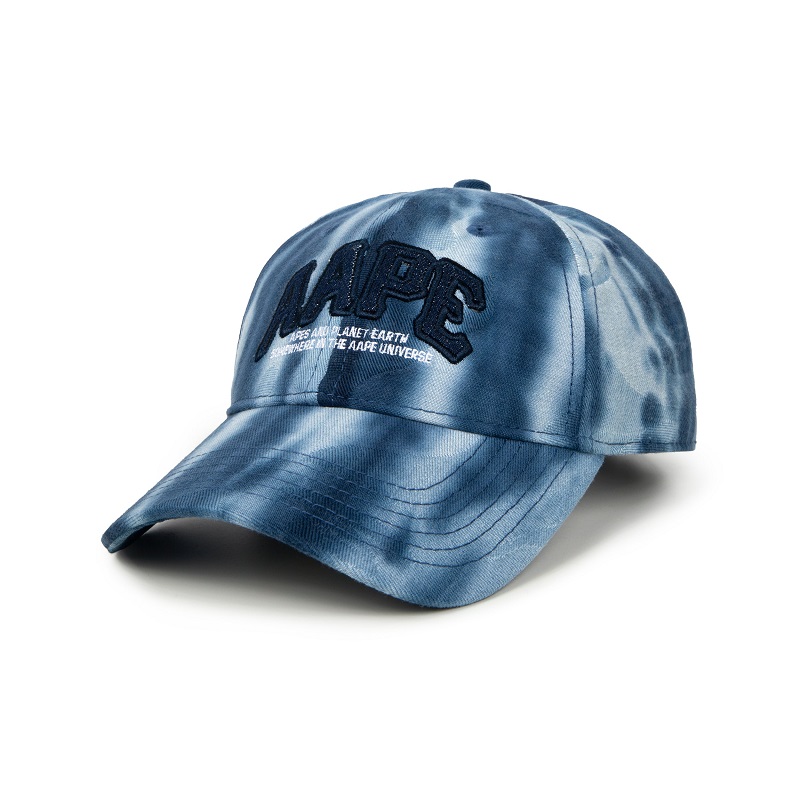
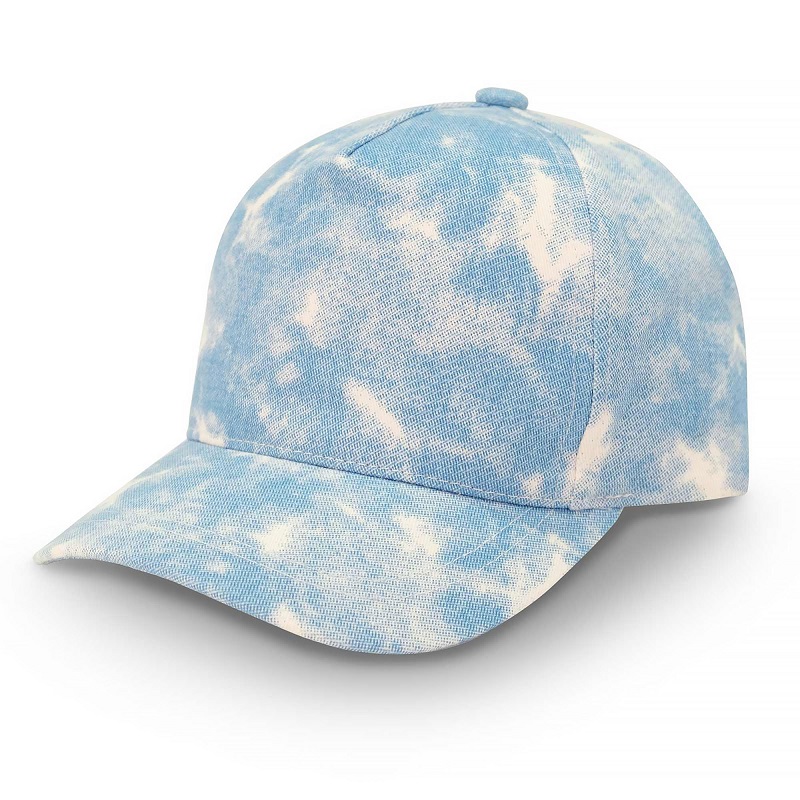
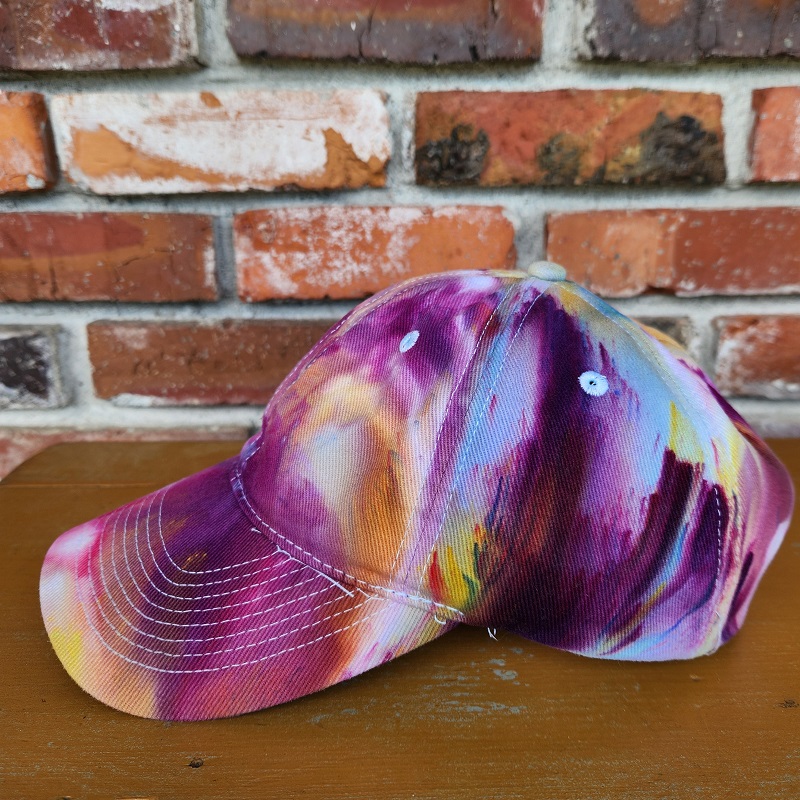
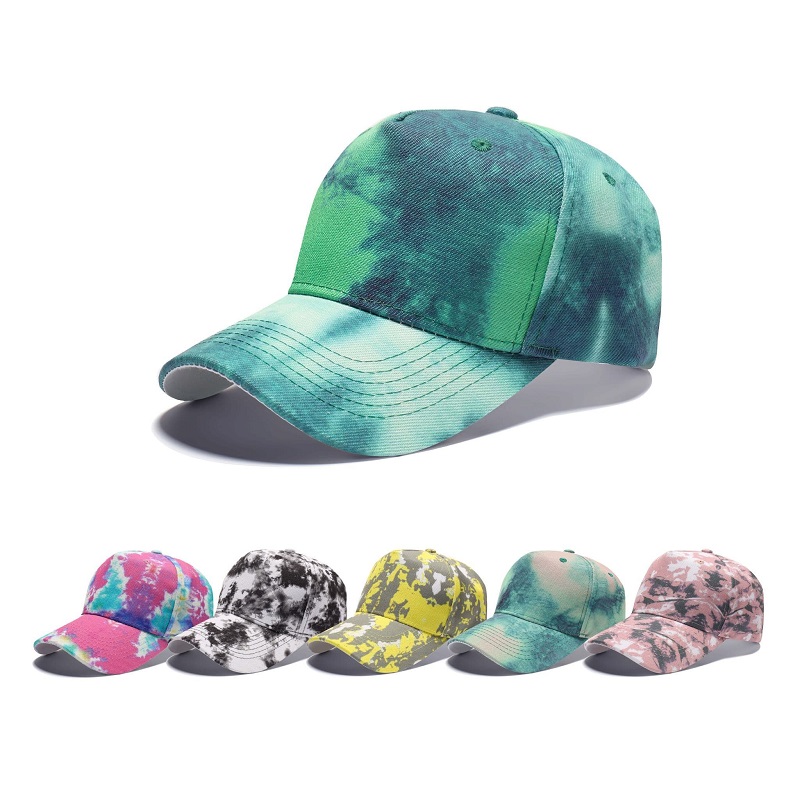
Tie-dyeing offers a fun way to create unique patterns on your baseball cap. To start, gather your supplies, including dye, rubber bands or string, and squeeze bottles for applying the dye. Pre-wash the cap to remove any finishes that might prevent the dye from setting properly. Once cleaned, twist or fold the cap into your desired design and secure it with rubber bands. The way you bind the fabric will influence the final pattern, so experiment with different techniques.
Applying the Dye
After securing the cap, prepare your dyes in separate squeeze bottles. Apply dye to each section of the cap, ensuring that colors overlap for blended effects. For a more uniform look, consider using a spray bottle to mist the dye onto the cap. Allow the dye to set according to the manufacturer’s instructions, typically ranging from a few hours to overnight. Once the dye has set, rinse the cap thoroughly in cold water, removing excess dye. This process will create vibrant, one-of-a-kind patterns that showcase your personal style.
Post-Dyeing Care
Rinsing and Setting the Dye
After dyeing your baseball cap, proper rinsing is crucial to set the dye and prevent bleeding. Rinse the cap under cold water until the water runs clear, ensuring all excess dye is removed. For added dye retention, consider soaking the cap in a vinegar solution for about 30 minutes. The acidity of the vinegar can help set the dye, especially for natural fibers. Afterward, rinse again in cold water.
Troubleshooting Common Issues
Uneven Dyeing
If you notice uneven dyeing or blotches on your cap, don’t panic. This issue can often be remedied with a second dye application. You can either re-dye the entire cap or target specific areas that appear lighter. When reapplying dye, be sure to follow the same technique as before to ensure consistency. Additionally, consider using a sponge or brush to apply dye to small areas for more control.
Fading Over Time
Even the best-dyed caps can fade over time, especially if frequently exposed to sunlight. To minimize fading, store your cap in a cool, dark place when not in use. If you notice fading, consider refreshing the color with a diluted dye solution, applying it as needed to the faded areas. Regular maintenance and care can significantly extend the life of your dyed cap, keeping it looking fresh and vibrant.

Creative Ideas for Customization
Adding Designs and Patterns
Beyond solid colors and tie-dye, there are countless ways to customize your baseball cap. Consider adding designs using fabric paint or stencils after dyeing. You can create intricate patterns, logos, or even your name, adding a personal touch. Be sure to let the dye set completely before applying any additional decorations.
Conclusion: Embrace Your Creativity
Dyeing a baseball cap can be a fun and rewarding project, allowing you to showcase your personal style. By understanding the materials, techniques, and care required, you can achieve stunning results that reflect your creativity. Whether opting for a solid color, tie-dye pattern, or custom designs, the process is not only enjoyable but also an excellent way to breathe new life into an old cap. So gather your supplies, unleash your imagination, and transform your baseball cap into a one-of-a-kind accessory.
