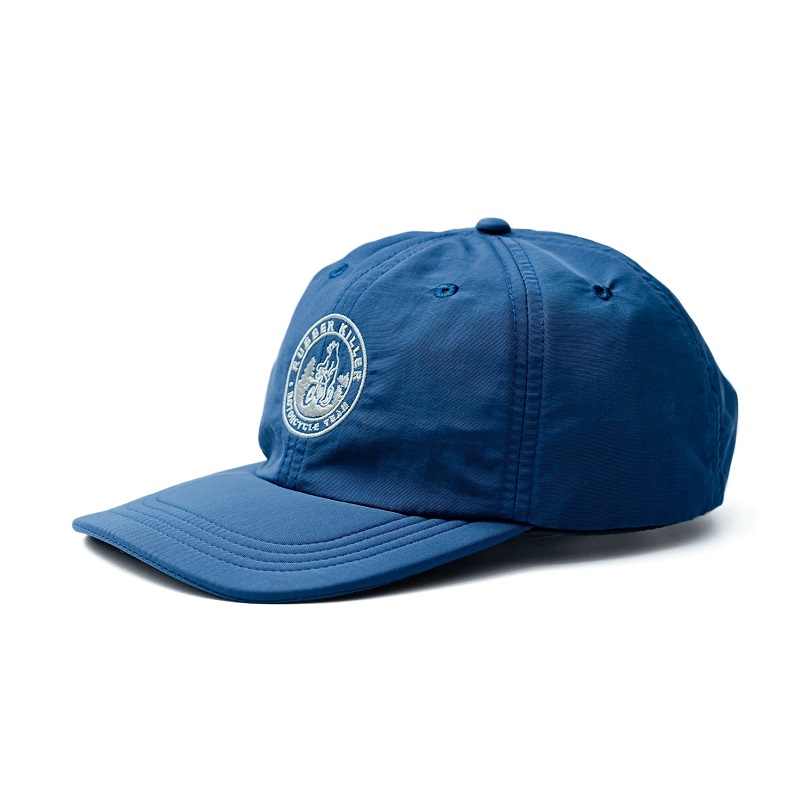
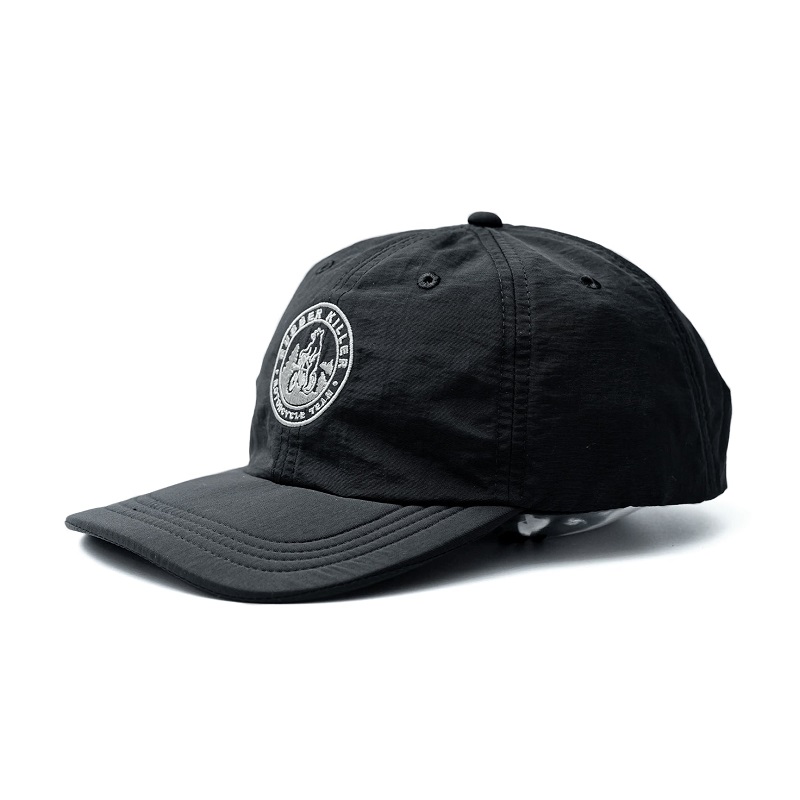
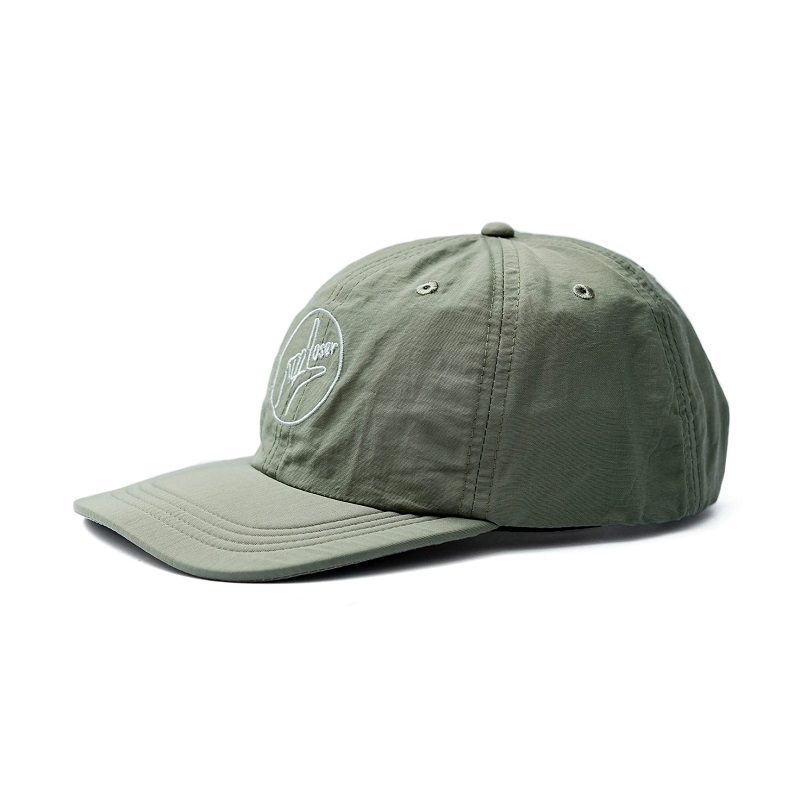
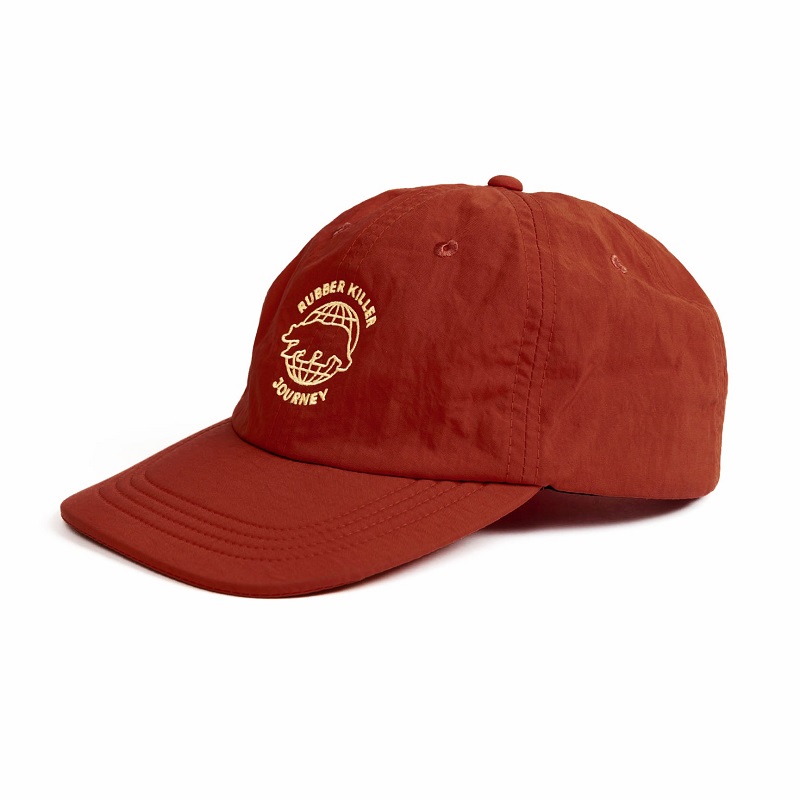
A wrinkled baseball cap can be a frustrating issue, especially if you want to restore it to its original, pristine condition. Whether it’s been squished in your bag, sat at the bottom of a drawer, or just suffered from general wear and tear, fixing those wrinkles doesn’t have to be a daunting task. This comprehensive guide will walk you through various DIY techniques to effectively remove wrinkles from your baseball cap, ensuring it looks as good as new.
Understanding the Fabric of Your Baseball Cap
Identifying Cap Materials
Before attempting to fix wrinkles, it’s essential to identify the material of your baseball cap. Baseball caps are commonly made from a variety of materials, including cotton, polyester, wool, and synthetic blends. Each material reacts differently to heat and moisture, which is crucial to know when choosing a method for removing wrinkles.
- Cotton: Cotton caps are prone to wrinkling but are generally easy to fix with steam and gentle heat.
- Polyester: Polyester caps are more resistant to wrinkles but may require specific techniques to avoid damage.
- Wool: Wool caps are delicate and require careful handling to avoid shrinking or felting.
- Synthetic Blends: These can vary widely, so understanding the blend’s specific care instructions is vital.
Knowing the fabric type helps you select the most appropriate method for wrinkle removal, ensuring that you don’t inadvertently damage your cap.

Checking the Cap’s Care Label
The care label on your baseball cap provides valuable information regarding cleaning and maintenance. Always check the care instructions before applying any DIY techniques. The label may specify whether the cap is machine washable, hand wash only, or if there are any special considerations to keep in mind.
Steam and Heat Techniques
Using a Steam Iron
One effective method for removing wrinkles is using a steam iron. Steam helps to relax the fabric fibers, making wrinkles easier to smooth out. Follow these steps for best results:
- Preparation: Fill your iron’s water reservoir and set it to the steam setting. Ensure that the iron is on a low to medium heat to prevent overheating the fabric.
- Applying Steam: Hold the iron about 6-8 inches above the cap and let the steam penetrate the fabric. Avoid direct contact to prevent burns or damage.
- Smoothing: Gently smooth the cap with your hands while applying steam. This technique works well for cotton and polyester caps but should be used cautiously with delicate fabrics.
This method is especially useful for hats that have been stored away for a long time or have noticeable creases.
Using a Steamer
If you have a handheld steamer, it can be a great alternative to an iron. A steamer can be more gentle and precise in applying steam without direct heat. Here’s how to use a steamer:
- Setup: Fill the steamer with water and allow it to heat up according to the manufacturer’s instructions.
- Steaming: Hold the steamer at a distance of about 6-12 inches from the cap, allowing the steam to gently saturate the fabric. Move the steamer around to ensure even coverage.
- Shaping: As you steam, use your hands to reshape the cap and smooth out any wrinkles. Be careful not to overdo it, as too much steam can cause fabric distortion.
Using a steamer is a great option for caps made from delicate materials or those with intricate designs.
Using Water and Drying Techniques
Spritzing with Water
A simple yet effective method involves lightly spritzing the cap with water to loosen wrinkles. This technique is particularly useful for cotton and polyester caps. Here’s how to do it:
- Preparation: Fill a spray bottle with water and adjust it to a fine mist setting.
- Application: Lightly spritz the wrinkled areas of the cap. Avoid soaking the fabric; just dampen it enough to help the fibers relax.
- Drying: After misting, gently shape the cap to its original form and allow it to air dry. Avoid using direct heat sources like hairdryers, as they can cause damage.
This method is ideal for minor wrinkles and can be combined with other techniques for better results.

The Towel and Iron Method
Another effective method involves using a damp towel and an iron to remove wrinkles. This technique works well for caps that are particularly wrinkled or have set-in creases.
- Dampening: Wet a clean towel and wring out excess water. The towel should be damp but not dripping.
- Covering: Place the damp towel over the wrinkled area of the cap. The towel acts as a barrier between the iron and the cap.
- Ironing: Set your iron to a low heat setting and press it gently over the towel. The steam and heat from the iron will penetrate through the towel, helping to smooth out the wrinkles without direct contact with the cap.
This method helps to protect the cap from direct heat while effectively removing wrinkles.
Manual Shaping and Storage Tips
Reshaping the Cap by Hand
Manual reshaping is a straightforward method that involves physically molding the cap back into shape. This technique works well for caps that are slightly wrinkled or out of shape.
- Moistening: If the cap is stiff, lightly mist it with water to make it more pliable.
- Reshaping: Gently stretch and mold the cap back into its original shape. Pay special attention to the brim and crown, as these areas are often prone to wrinkling.
- Drying: Allow the cap to air dry while maintaining its shape. Placing it on a round object like a ball can help retain its form.
Manual reshaping is effective for routine maintenance and for caps that just need a bit of realignment.
Proper Storage to Prevent Wrinkles
Preventing future wrinkles involves proper storage of your baseball cap. Here are some tips to keep your cap in good condition:
- Cap Racks and Organizers: Use cap racks or hat organizers to keep your caps in shape. These devices help maintain the form and prevent crushing.
- Avoid Direct Sunlight: Store your caps in a cool, dry place away from direct sunlight. Prolonged exposure to sunlight can cause fabric to weaken and warp.
- Use Hat Inserts: For added protection, consider using hat inserts or stuffing the cap with tissue paper when storing. This helps maintain the shape and prevent creasing.
Proper storage practices can extend the life of your wrinkled baseball cap and keep it looking its best.
Advanced Techniques for Stubborn Wrinkles
Using a Hairdryer
For particularly stubborn wrinkles, a hairdryer can be an effective tool. The key is to use it carefully to avoid overheating the fabric.
- Setup: Set the hairdryer to a medium heat setting and hold it about 6-8 inches from the cap.
- Application: Move the hairdryer around the wrinkled areas, allowing the warm air to gently relax the fabric fibers.
- Smoothing: Use your hands to smooth out the wrinkles as you apply the warm air. Be cautious not to overheat the fabric.
This method works well for caps with persistent wrinkles that other techniques have not resolved.
Using a Damp Cloth and Iron for Wool Caps
Wool caps require extra care to avoid damage. For wool caps with wrinkles, use a damp cloth and iron to gently remove wrinkles.
- Dampening Cloth: Moisten a clean cloth with water and wring out excess moisture.
- Covering: Place the damp cloth over the wool cap, ensuring that it covers the wrinkled areas.
- Ironing: Set the iron to a low, wool-friendly heat setting and gently press it over the damp cloth. The steam and heat will help smooth out wrinkles without damaging the wool.
This method ensures that the delicate wool fibers are not damaged while effectively addressing wrinkles.

Final Considerations and Tips
Avoiding Common Mistakes
When using DIY techniques to remove wrinkles from your wrinkled baseball cap, avoid common mistakes such as applying excessive heat, using harsh chemicals, or soaking the cap. These mistakes can lead to damage, distortion, or discoloration.
Consulting Professional Help
If your wrinkled baseball cap is particularly valuable or you’re unsure about the best approach, consider consulting a professional cleaner or a hat specialist. They can offer expert advice and treatment options tailored to your cap’s specific material and condition.
Conclusion
Fixing a wrinkled baseball cap involves understanding the material, applying appropriate steam and heat techniques, and using manual shaping and storage methods to maintain the cap’s appearance. By following these DIY techniques, you can effectively remove wrinkles and keep your baseball cap looking sharp and well-maintained. Whether you’re preparing for a special event or just want to refresh your favorite cap, these methods will help you achieve the desired results and extend the life of your cap.
